Infosheets
23. Straw Bale Planters
Straw bales are a flexible and affordable option for starting a gardening program in an outdoor learning environment (OLE). They can serve as a temporary solution while permanent beds are installed or as a permanent option. Straw bales offer a ready-made work surface at a perfect height for preschoolers. Some centers plant them with flowers or as part of an annual pumpkin display at the building entrance. As straw is a sustainable material, it can be re-purposed as mulch or added to compost.
- Choose straw bales
Make sure bales are straw and not hay (will sprout unwanted weeds). If available, choose organic bales to avoid the possibility of persistent pesticides or herbicides. - Determine location
Locate straw bale gardens near a water source to ensure more frequent irrigation than an in-ground garden. Position to receive at least six hours of sun per day, like any place for growing vegetables and flowers. Decide location before watering as bales will become too heavy to move. - Which side up?
If twine binding faces up, more space is available for soil layer and planting. If twine bindings face out, some say defense against disease and animal intrusions is stronger. It is an individual choice. - Condition bales
Condition bales to maximize planting success. Sprinkle high nitrogen organic fertilizer over the upper surface of each bale and water thoroughly to disperse fertilizer until water runs out of the bottom. Periodically water for two to three weeks, adding more fertilizer. Planting can begin when bales begin to get warm due to decomposition, which produces basic nutrients and promotes root growth. - Select plants
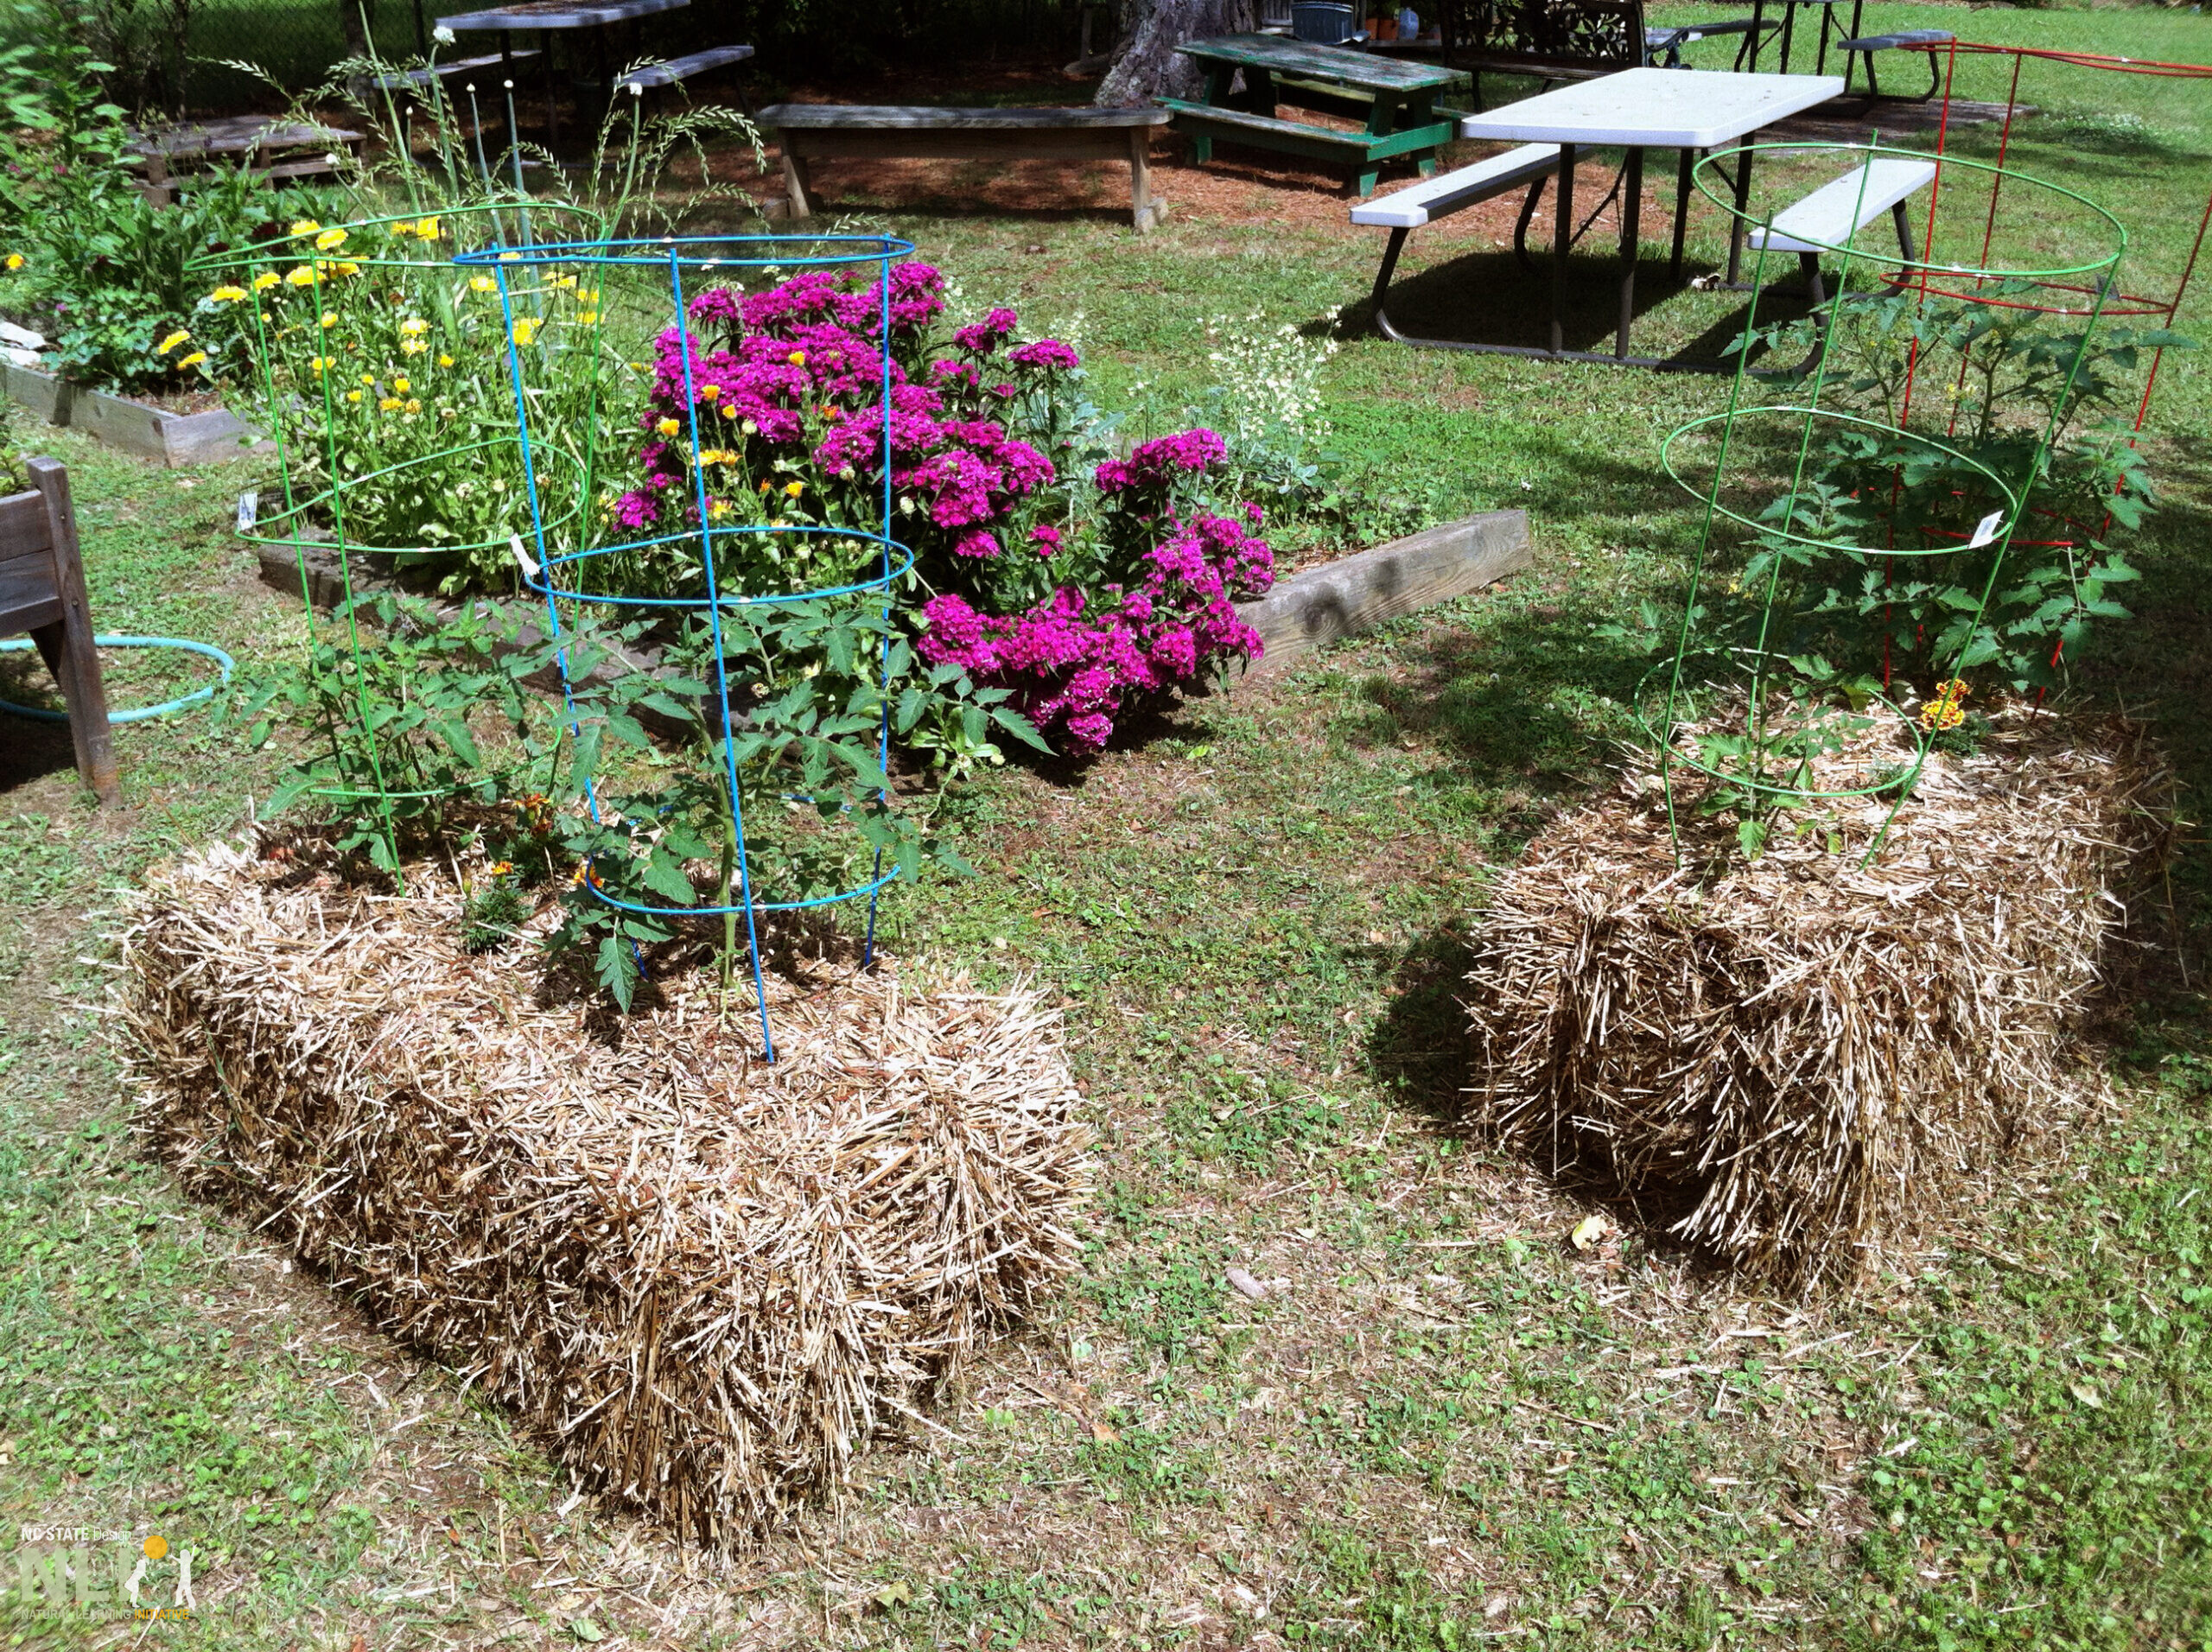
Vegetables, herbs, and flowers can be grown in straw bales. However, tall plants will become unstable and may topple over, including large tomato plants and corn. Even smaller cherry or grape tomatoes will need tomato cages for support and stability. - Prepare bales for planting plants
Seeds or transplants can be planted. Transplants need cavities a bit larger than their containers. Use tools including clippers, loppers, pruning saw, box cutter (do not use with children present), and trowel to chop out cavities (not as easy as it looks). Set aside chopped straw. Cover bales with 2-3 inches of planting soil mixed with compost. Tamp down. - Plant
Dig out soil mix from cavity, install plant, and back-fill around root ball, making sure it is firmly embedded. Sow sees directly into the layer of soil/compost at the recommended depth and spacing as indicated on the seed packet. Layer cavity straw around plant(s) as mulch. Add organic fertilizer. Space vegetable plants as recommended below:
• Tomatoes: 1-2 plants per bale
• Peppers: 2 plants per bale
• Squash: 1 plant per bale
• Zucchini: 1 plant per bale
• Cucumbers: 2 plants per bale - Watering
Straw bale gardens require more water than in-ground gardens to keep bales from drying out. Water regularly depending on rainfall during the germination period. - Longevity
Remember that although straw bales are economically friendly and easy to manage, they are temporary. Decomposition is natural and inevitable. At the end of the season, when the straw begins to more rapidly decompose and fall apart, use as mulch or compost for the permanent garden. Repeat the cycle the following year if desirable.
Materials & Tools:
- Straw bale(s)
- Hand trowel
- Garden hose
- Compost
- Organic fertilizer high in nitrogen
- Seeds or seedlings: annual flowers, fruit, & vegetables
- Clippers, loppers, pruning saw, box cutter (do not use with keep out of reach of children present)
Resources
- For more information, download the NLI / NC State Cooperative Extension Gardening with Young Children resources: Gardening Activity Guide and Childcare Gardening series: Local Foods: Childcare Center Production Gardens. For other regions, consult local extension offices. Thanks to Cynthia Gentry for feedback and advice.
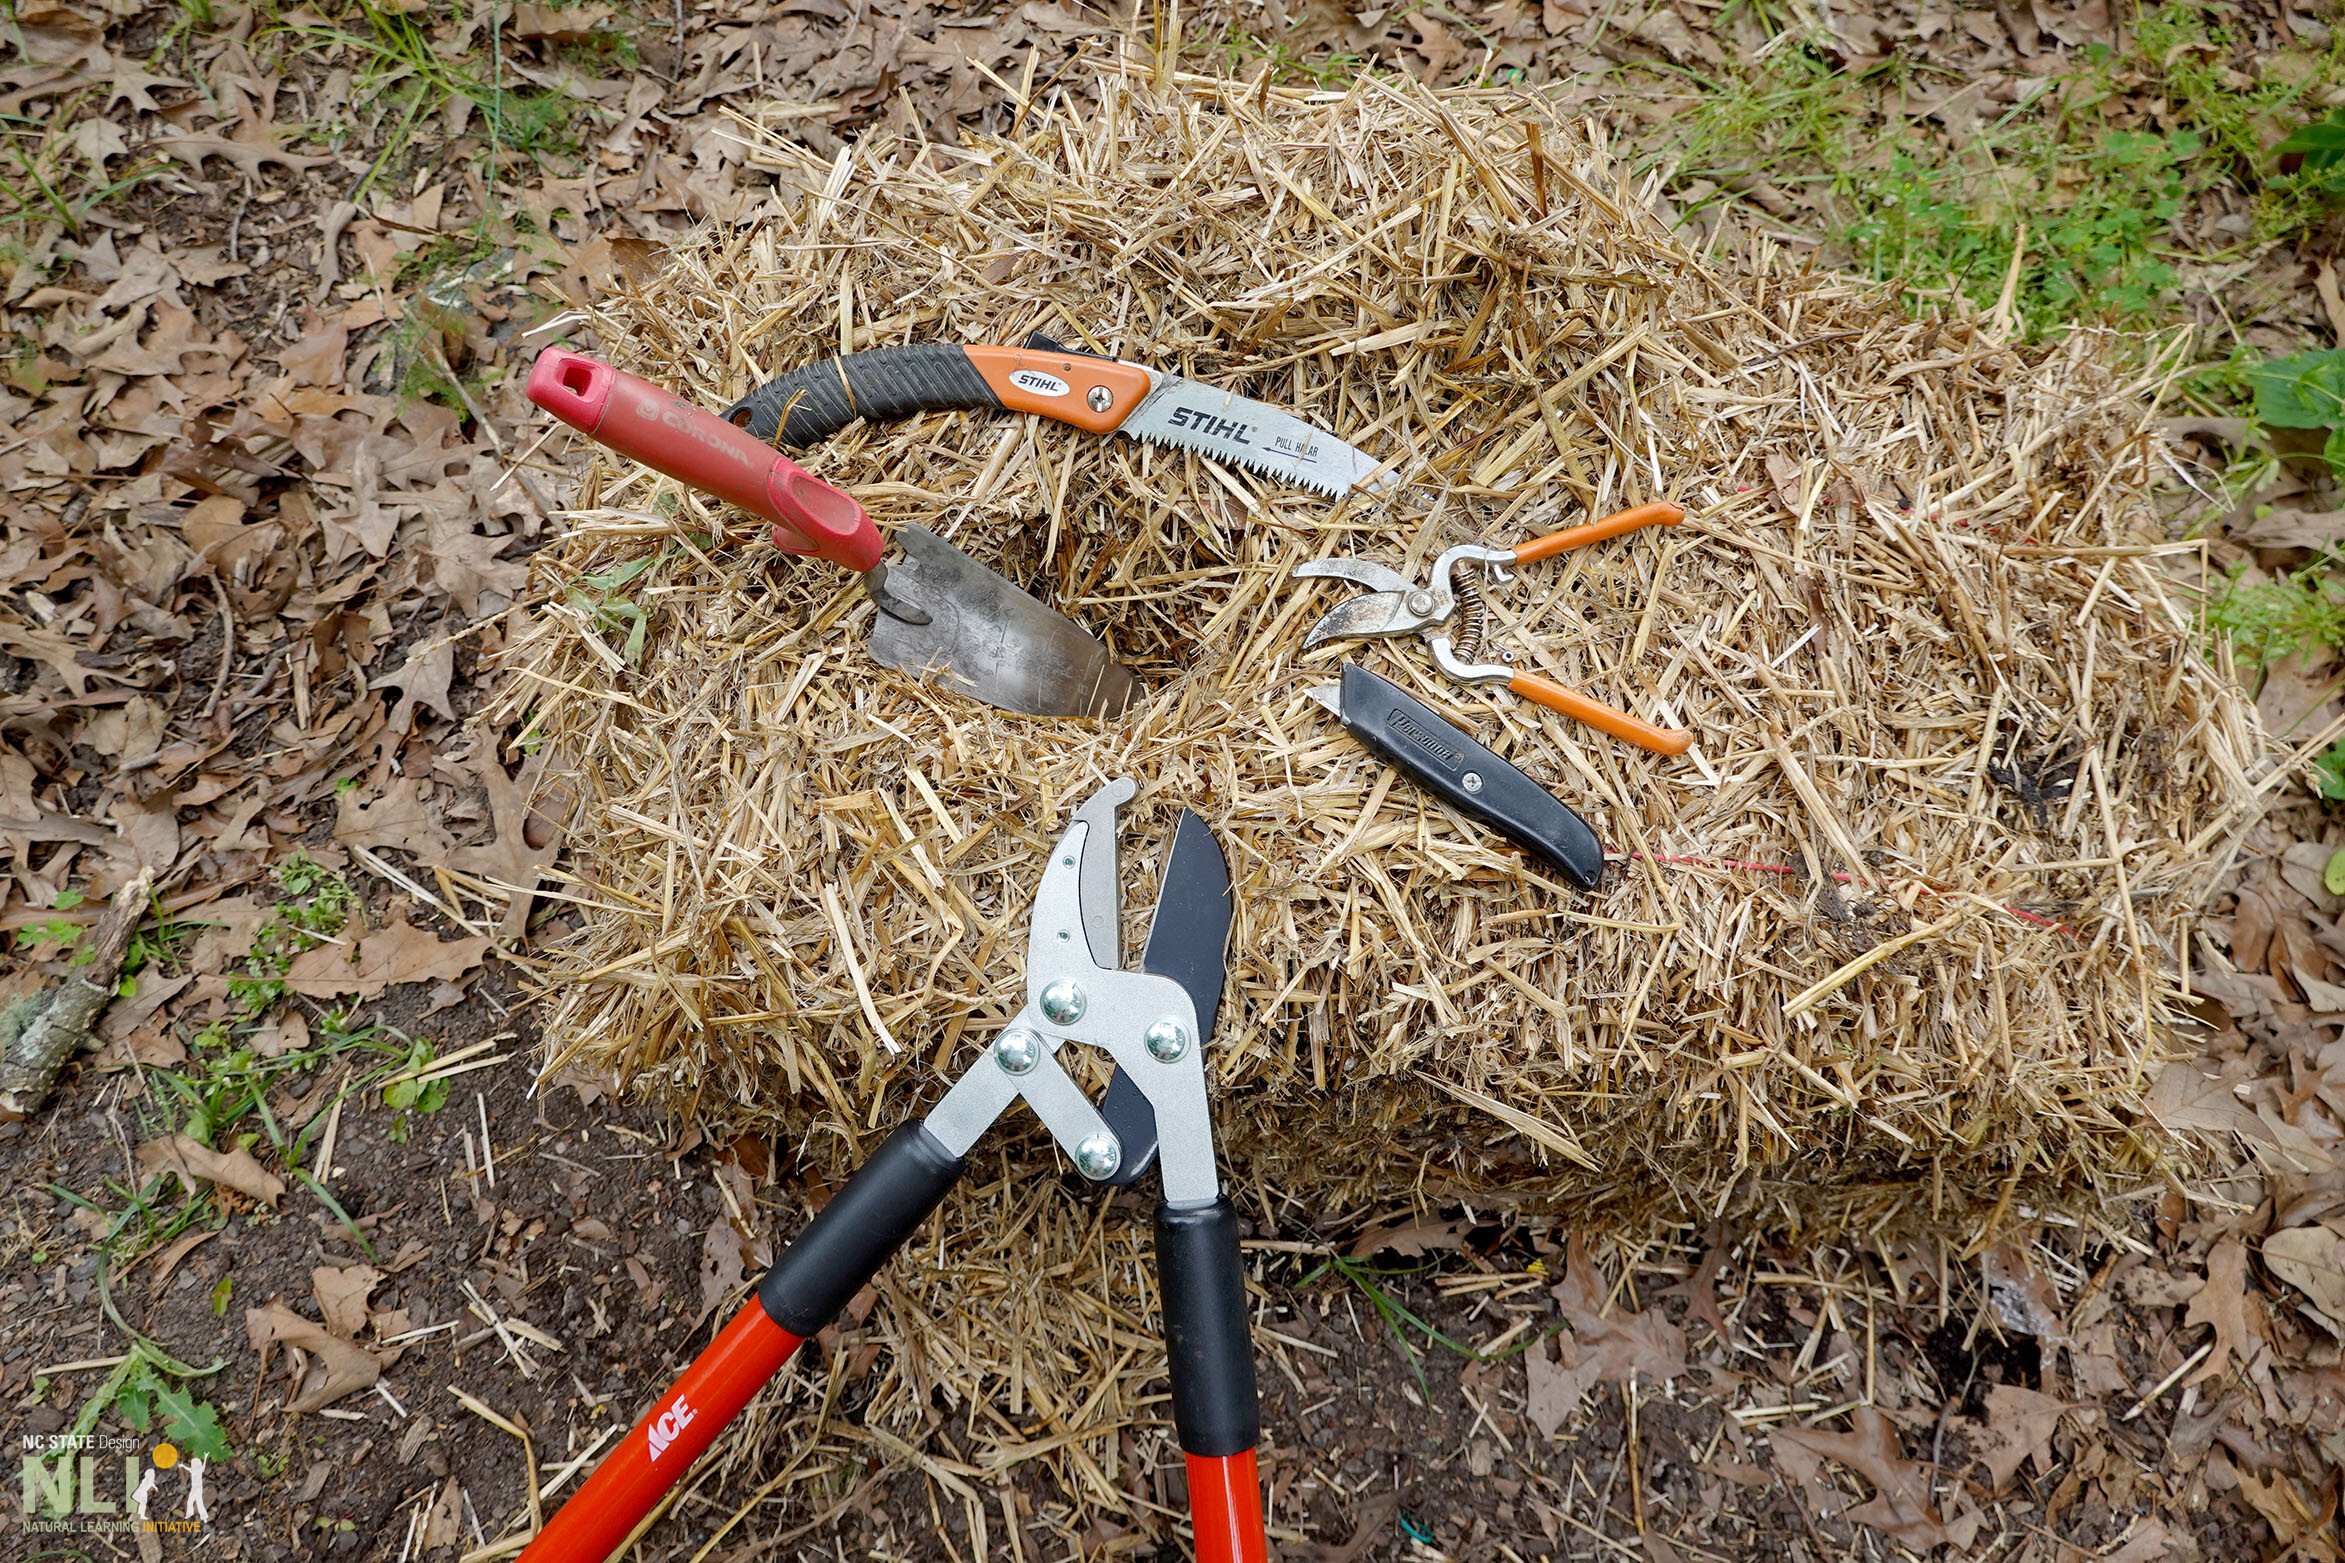
Various tools may be used to create planting cavities (do not use with children present).
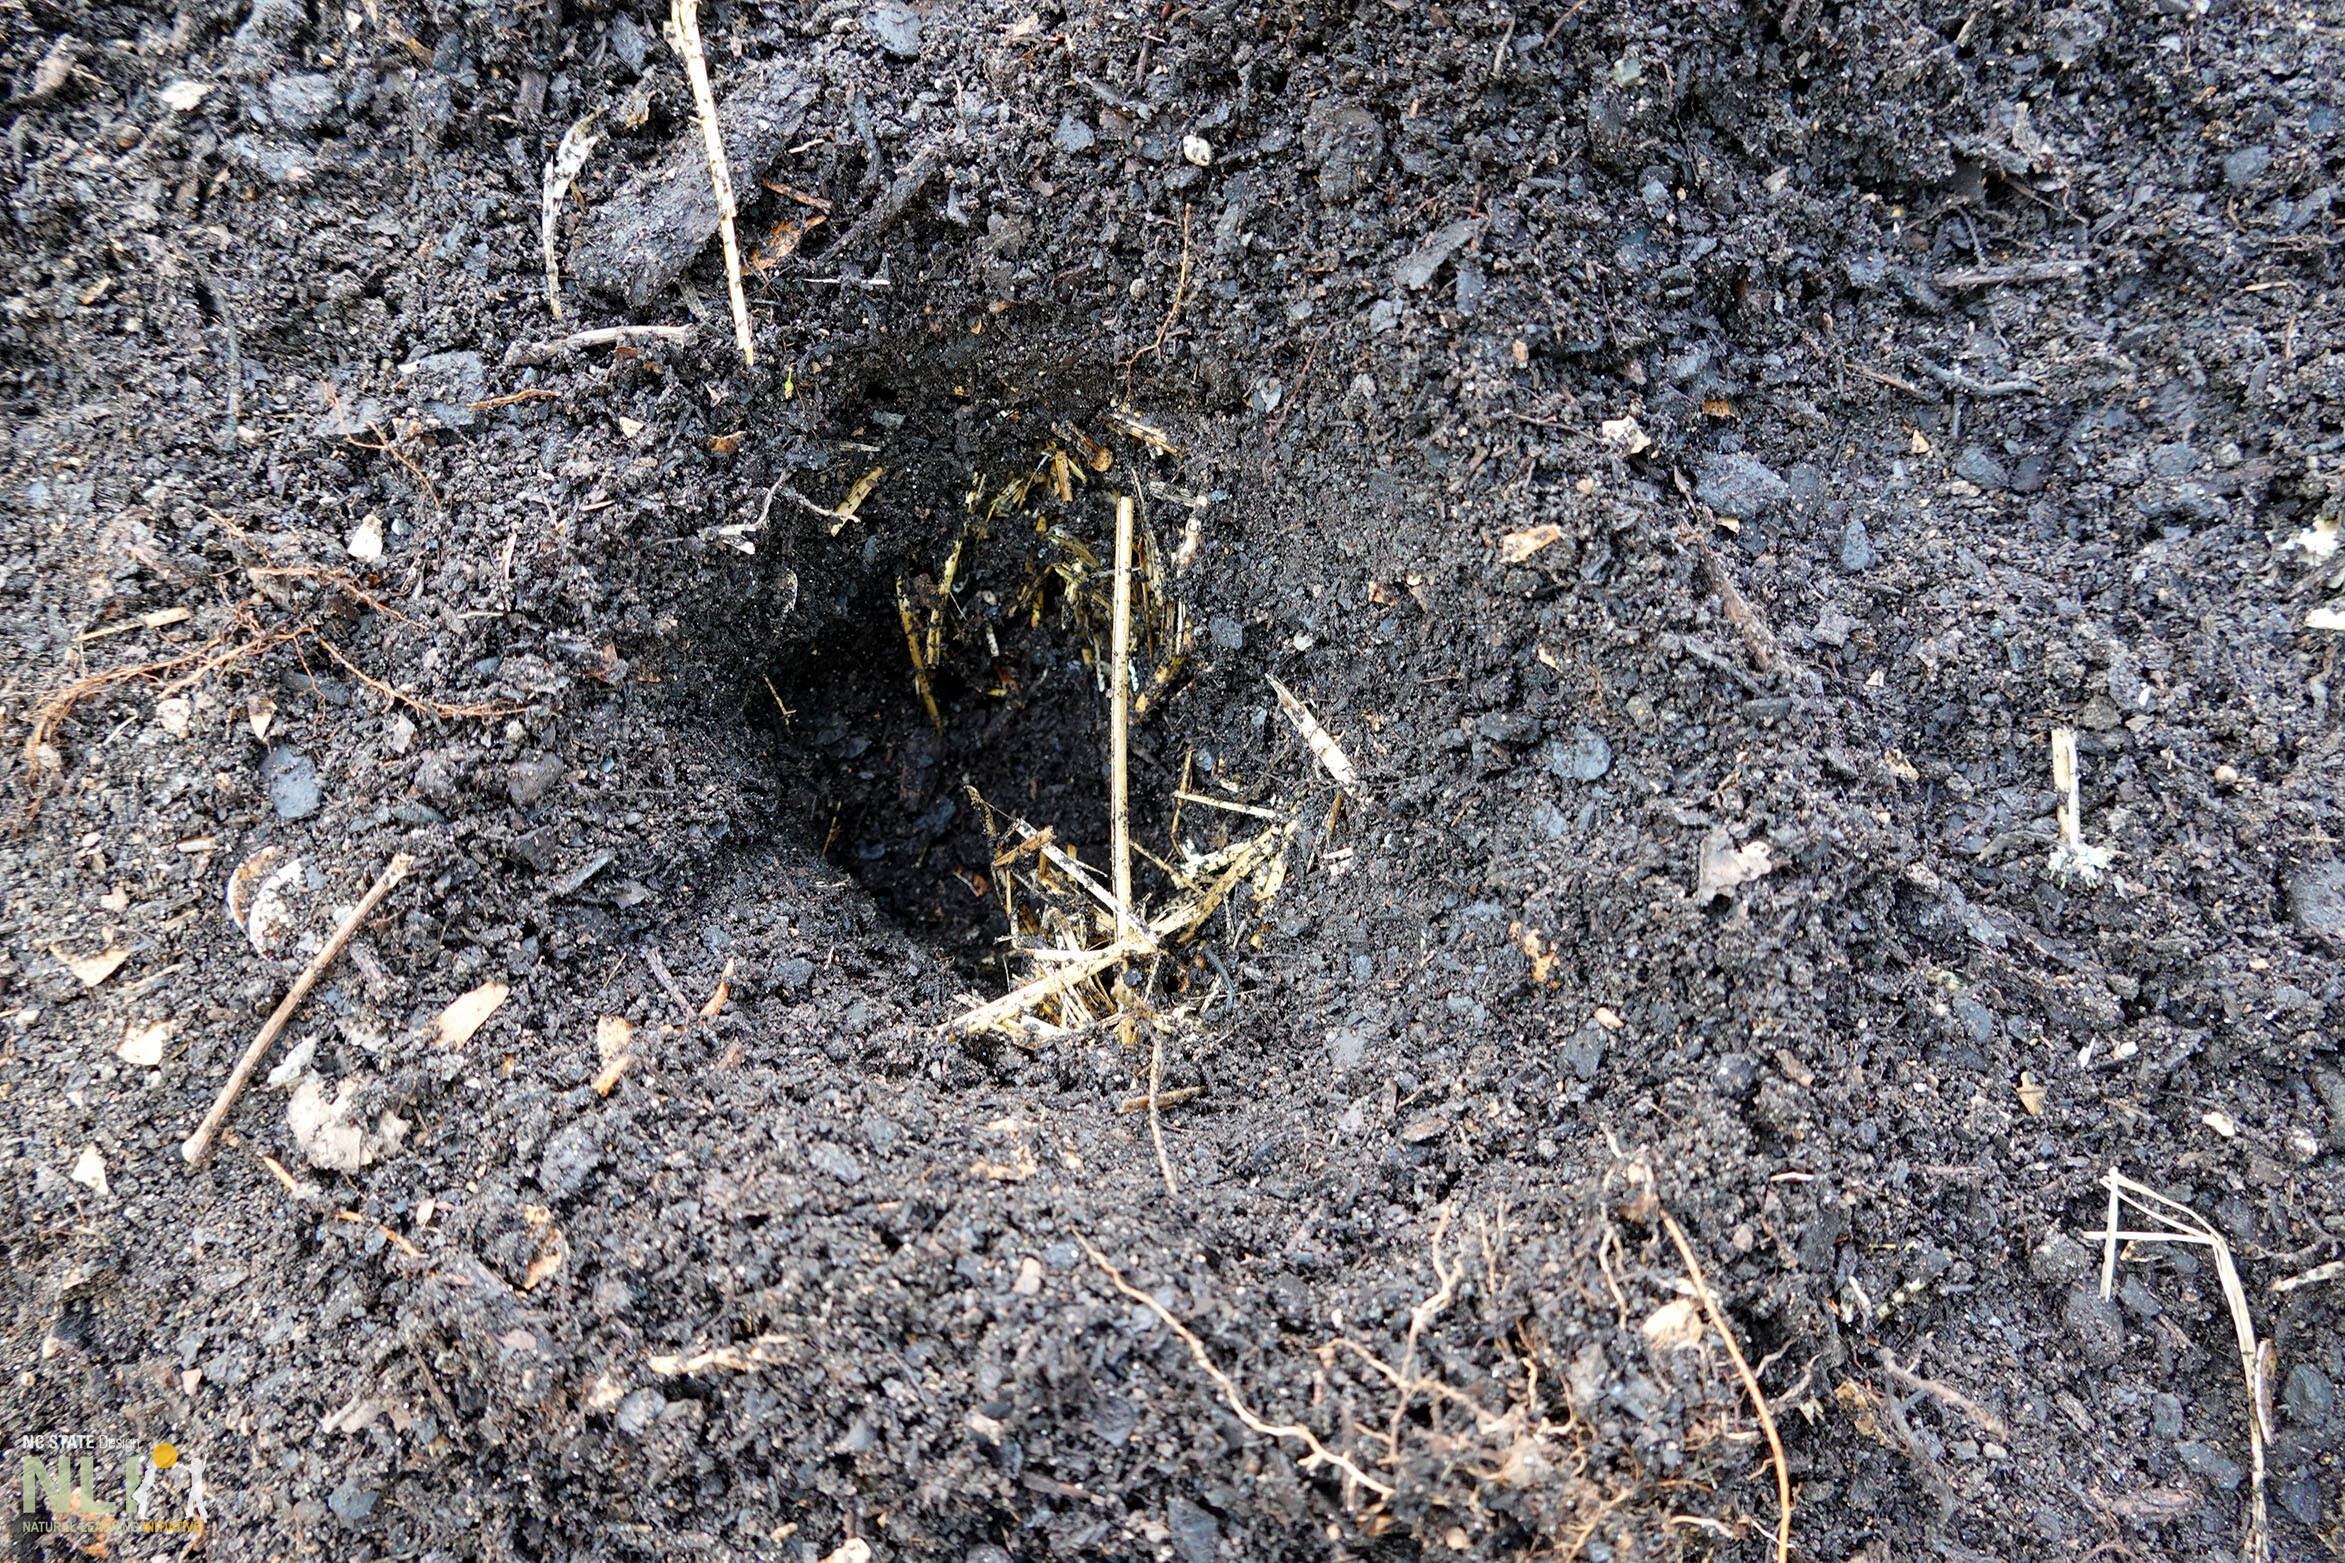
Layer of soil and compost added to conditioned and prepared bale with cavity exposed for planting.

Happy tomato plant in its new bale bed, mulched with surplus straw.
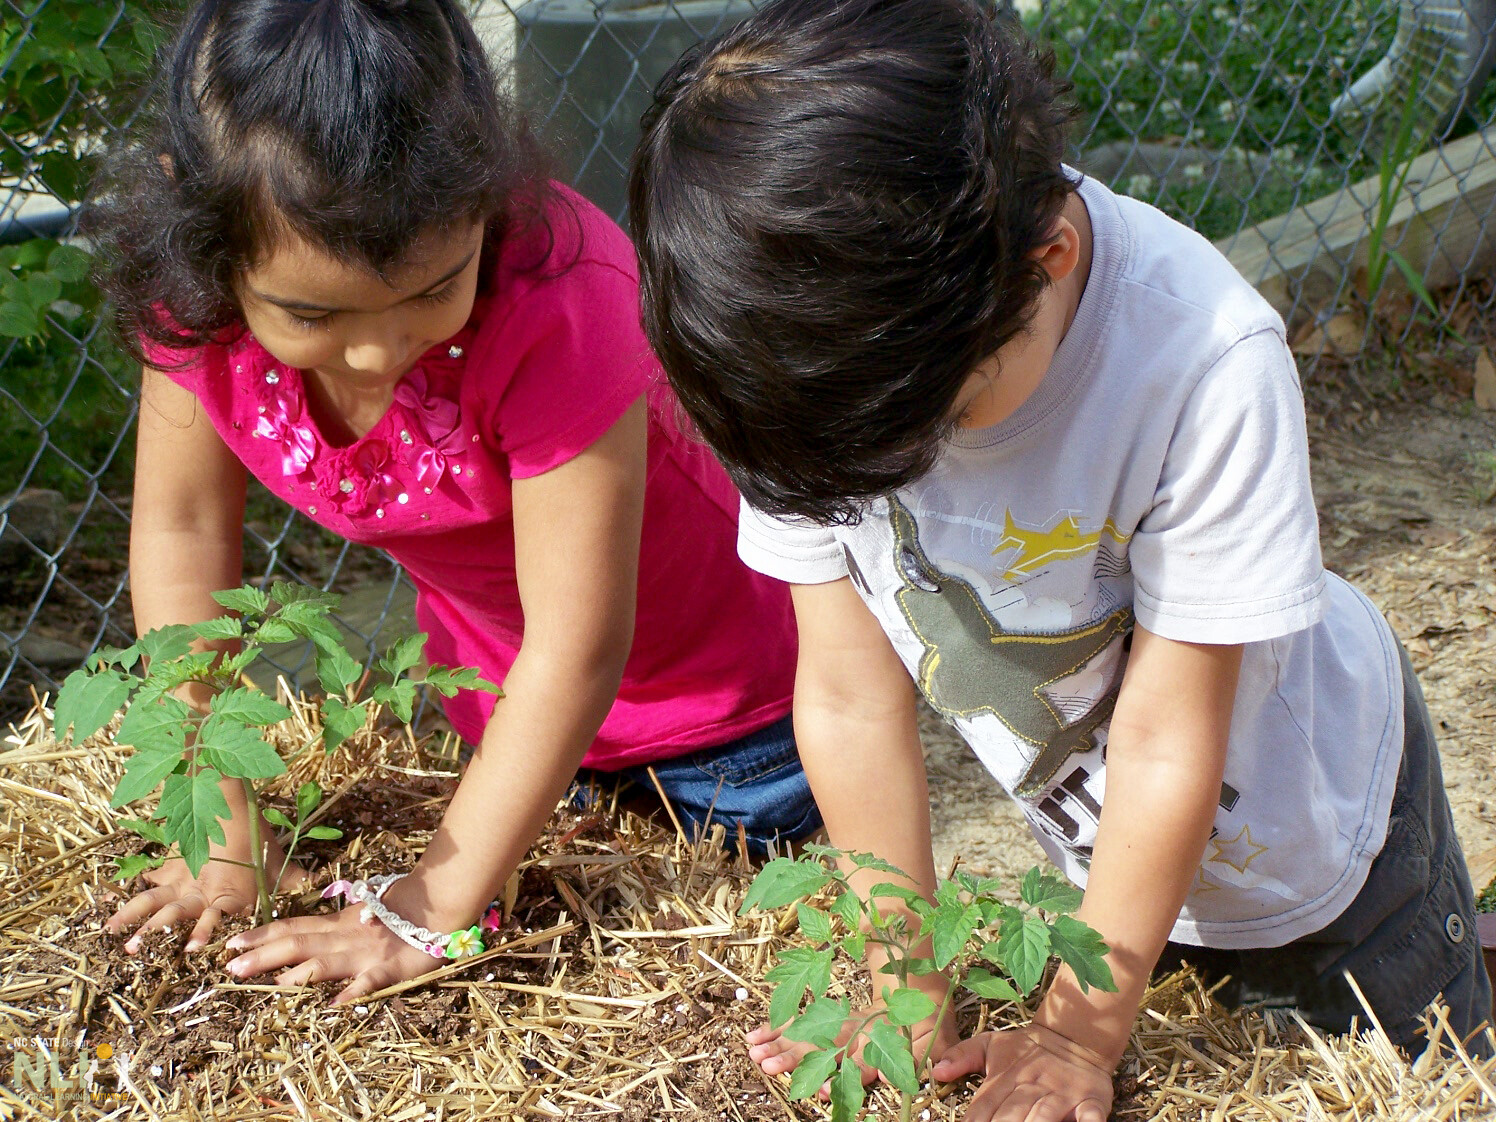
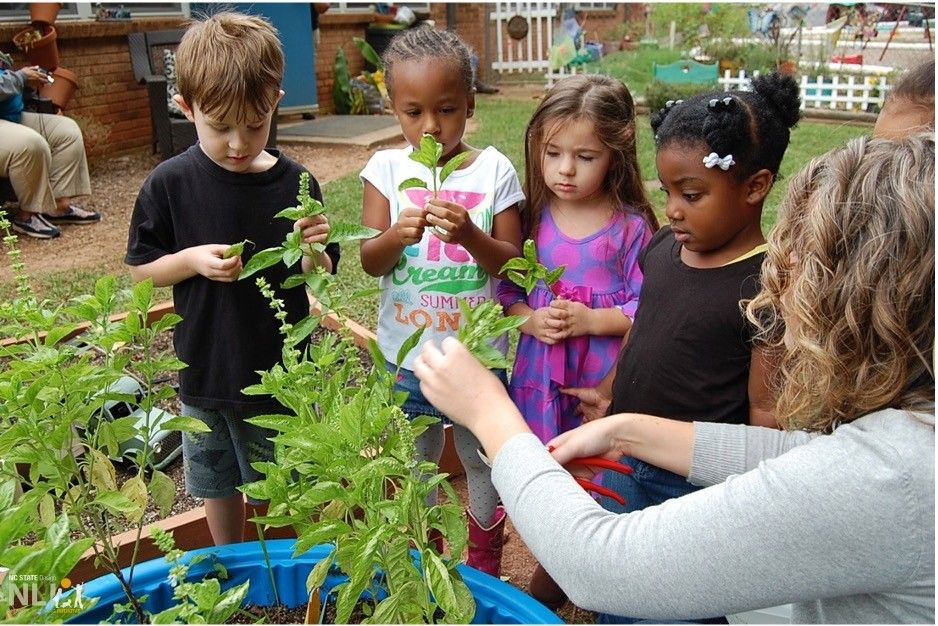
Engage children in the fascinating fun of straw bale planters, helping them understand how gardening can be an easy, low-cost solution.
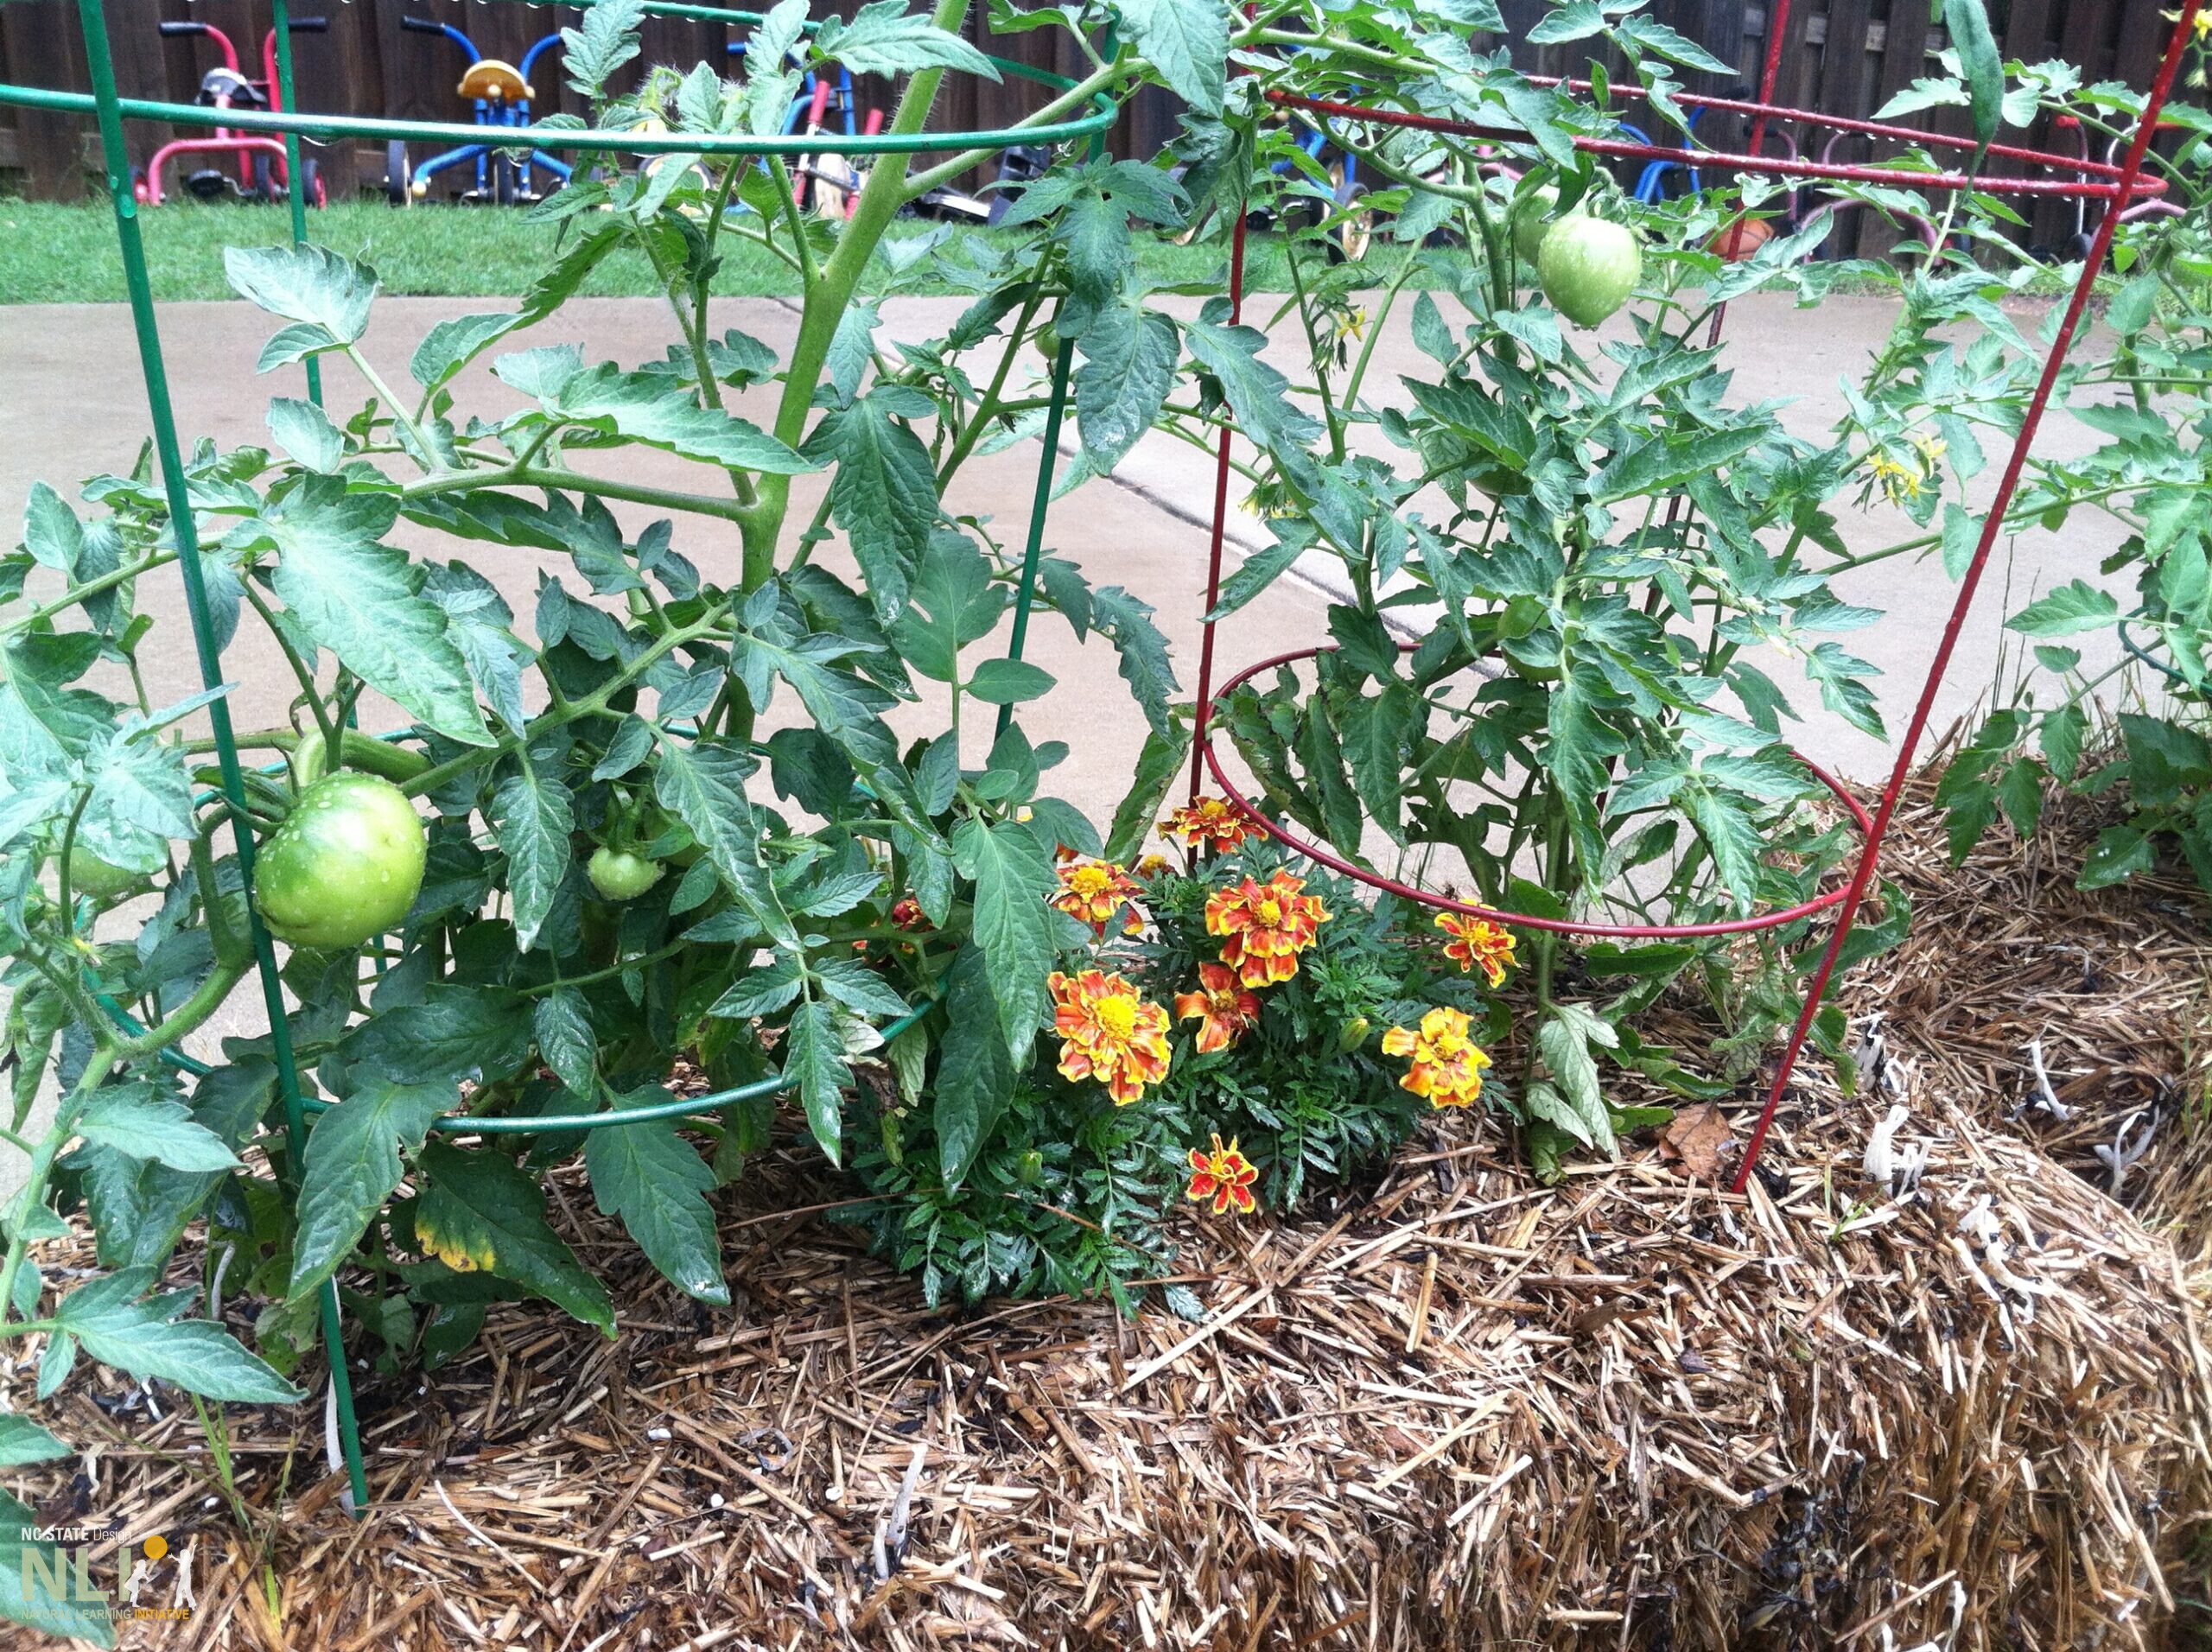
Two tomato plants supported by cages growing vigorously with companion marigolds in a single straw bale.