Infosheets
18. Making Newspaper Seedling Pots
STEPS
- Fold newspaper strips.
- Decorate.
- Roll the strips.
- Fold the base and remove the can.
- Fold the top rim.
- Add potting mix.
- Plant seeds.
- Place pots in a sunny location
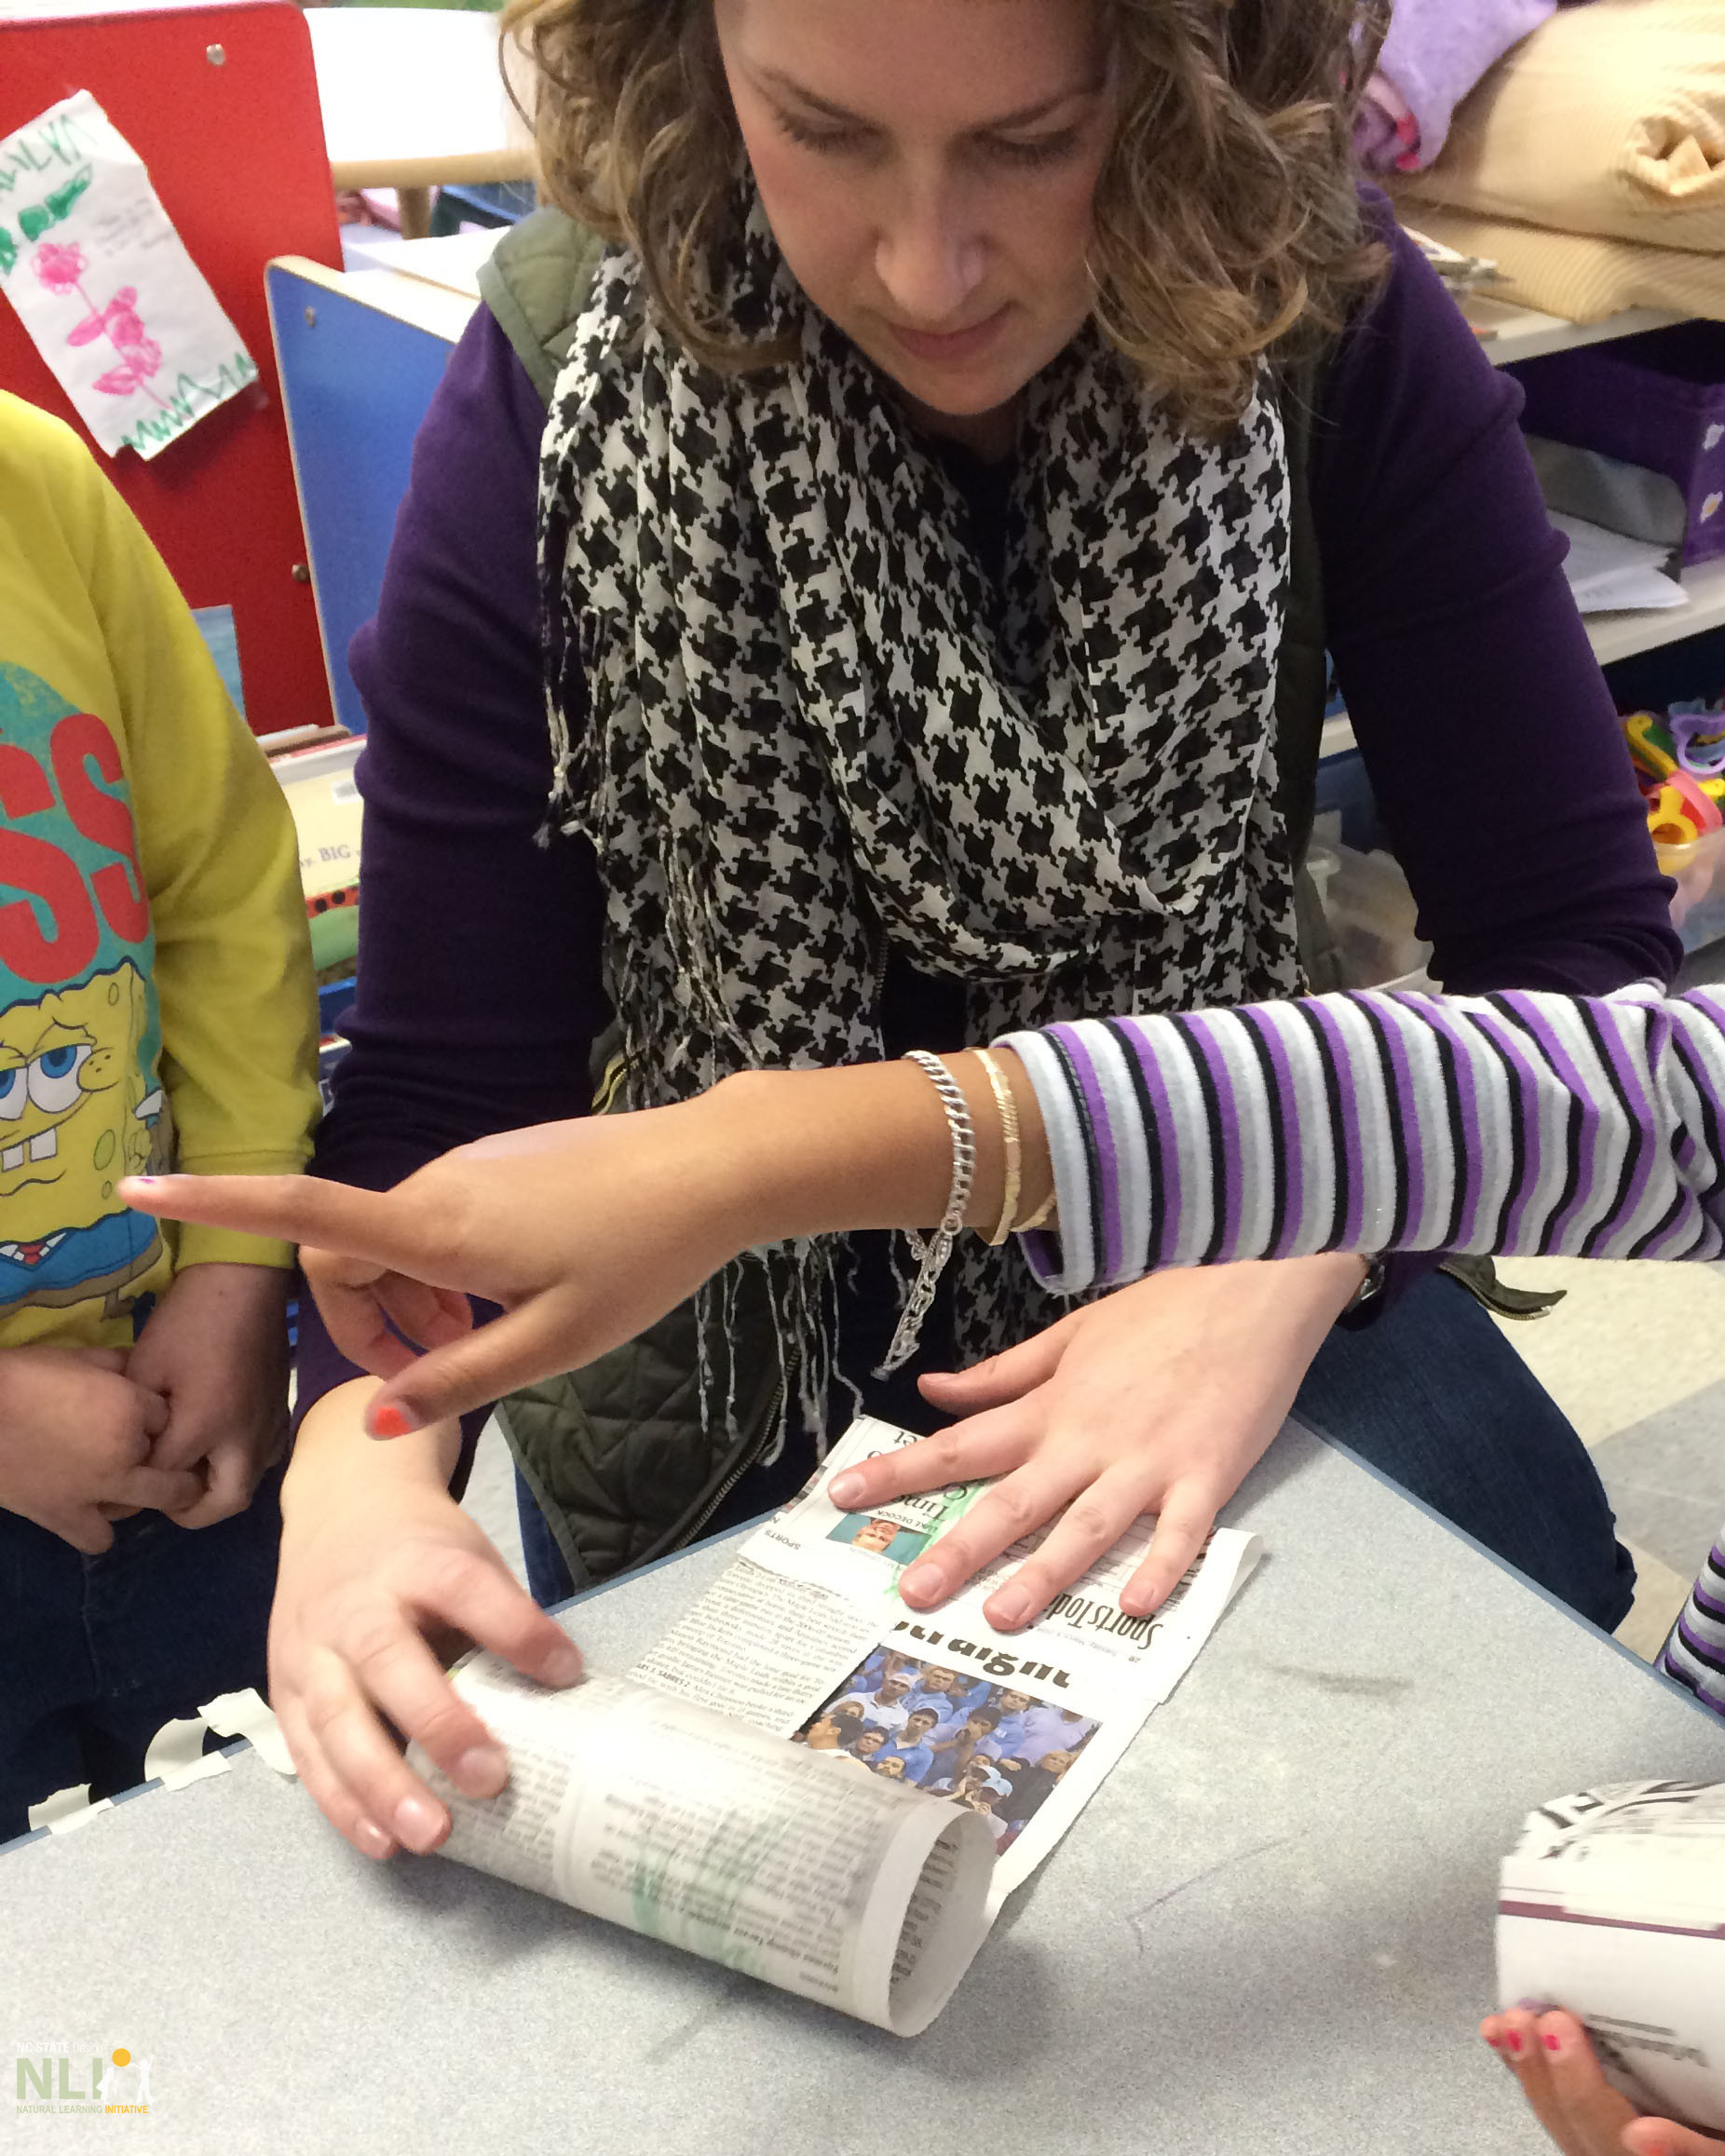
Choose a recycled newspaper page that has more text than images, if possible. Newspaper pages with black and white ink are preferred over colored ink. Begin by folding the paper lengthwise until you have a strip around 7 inches wide.
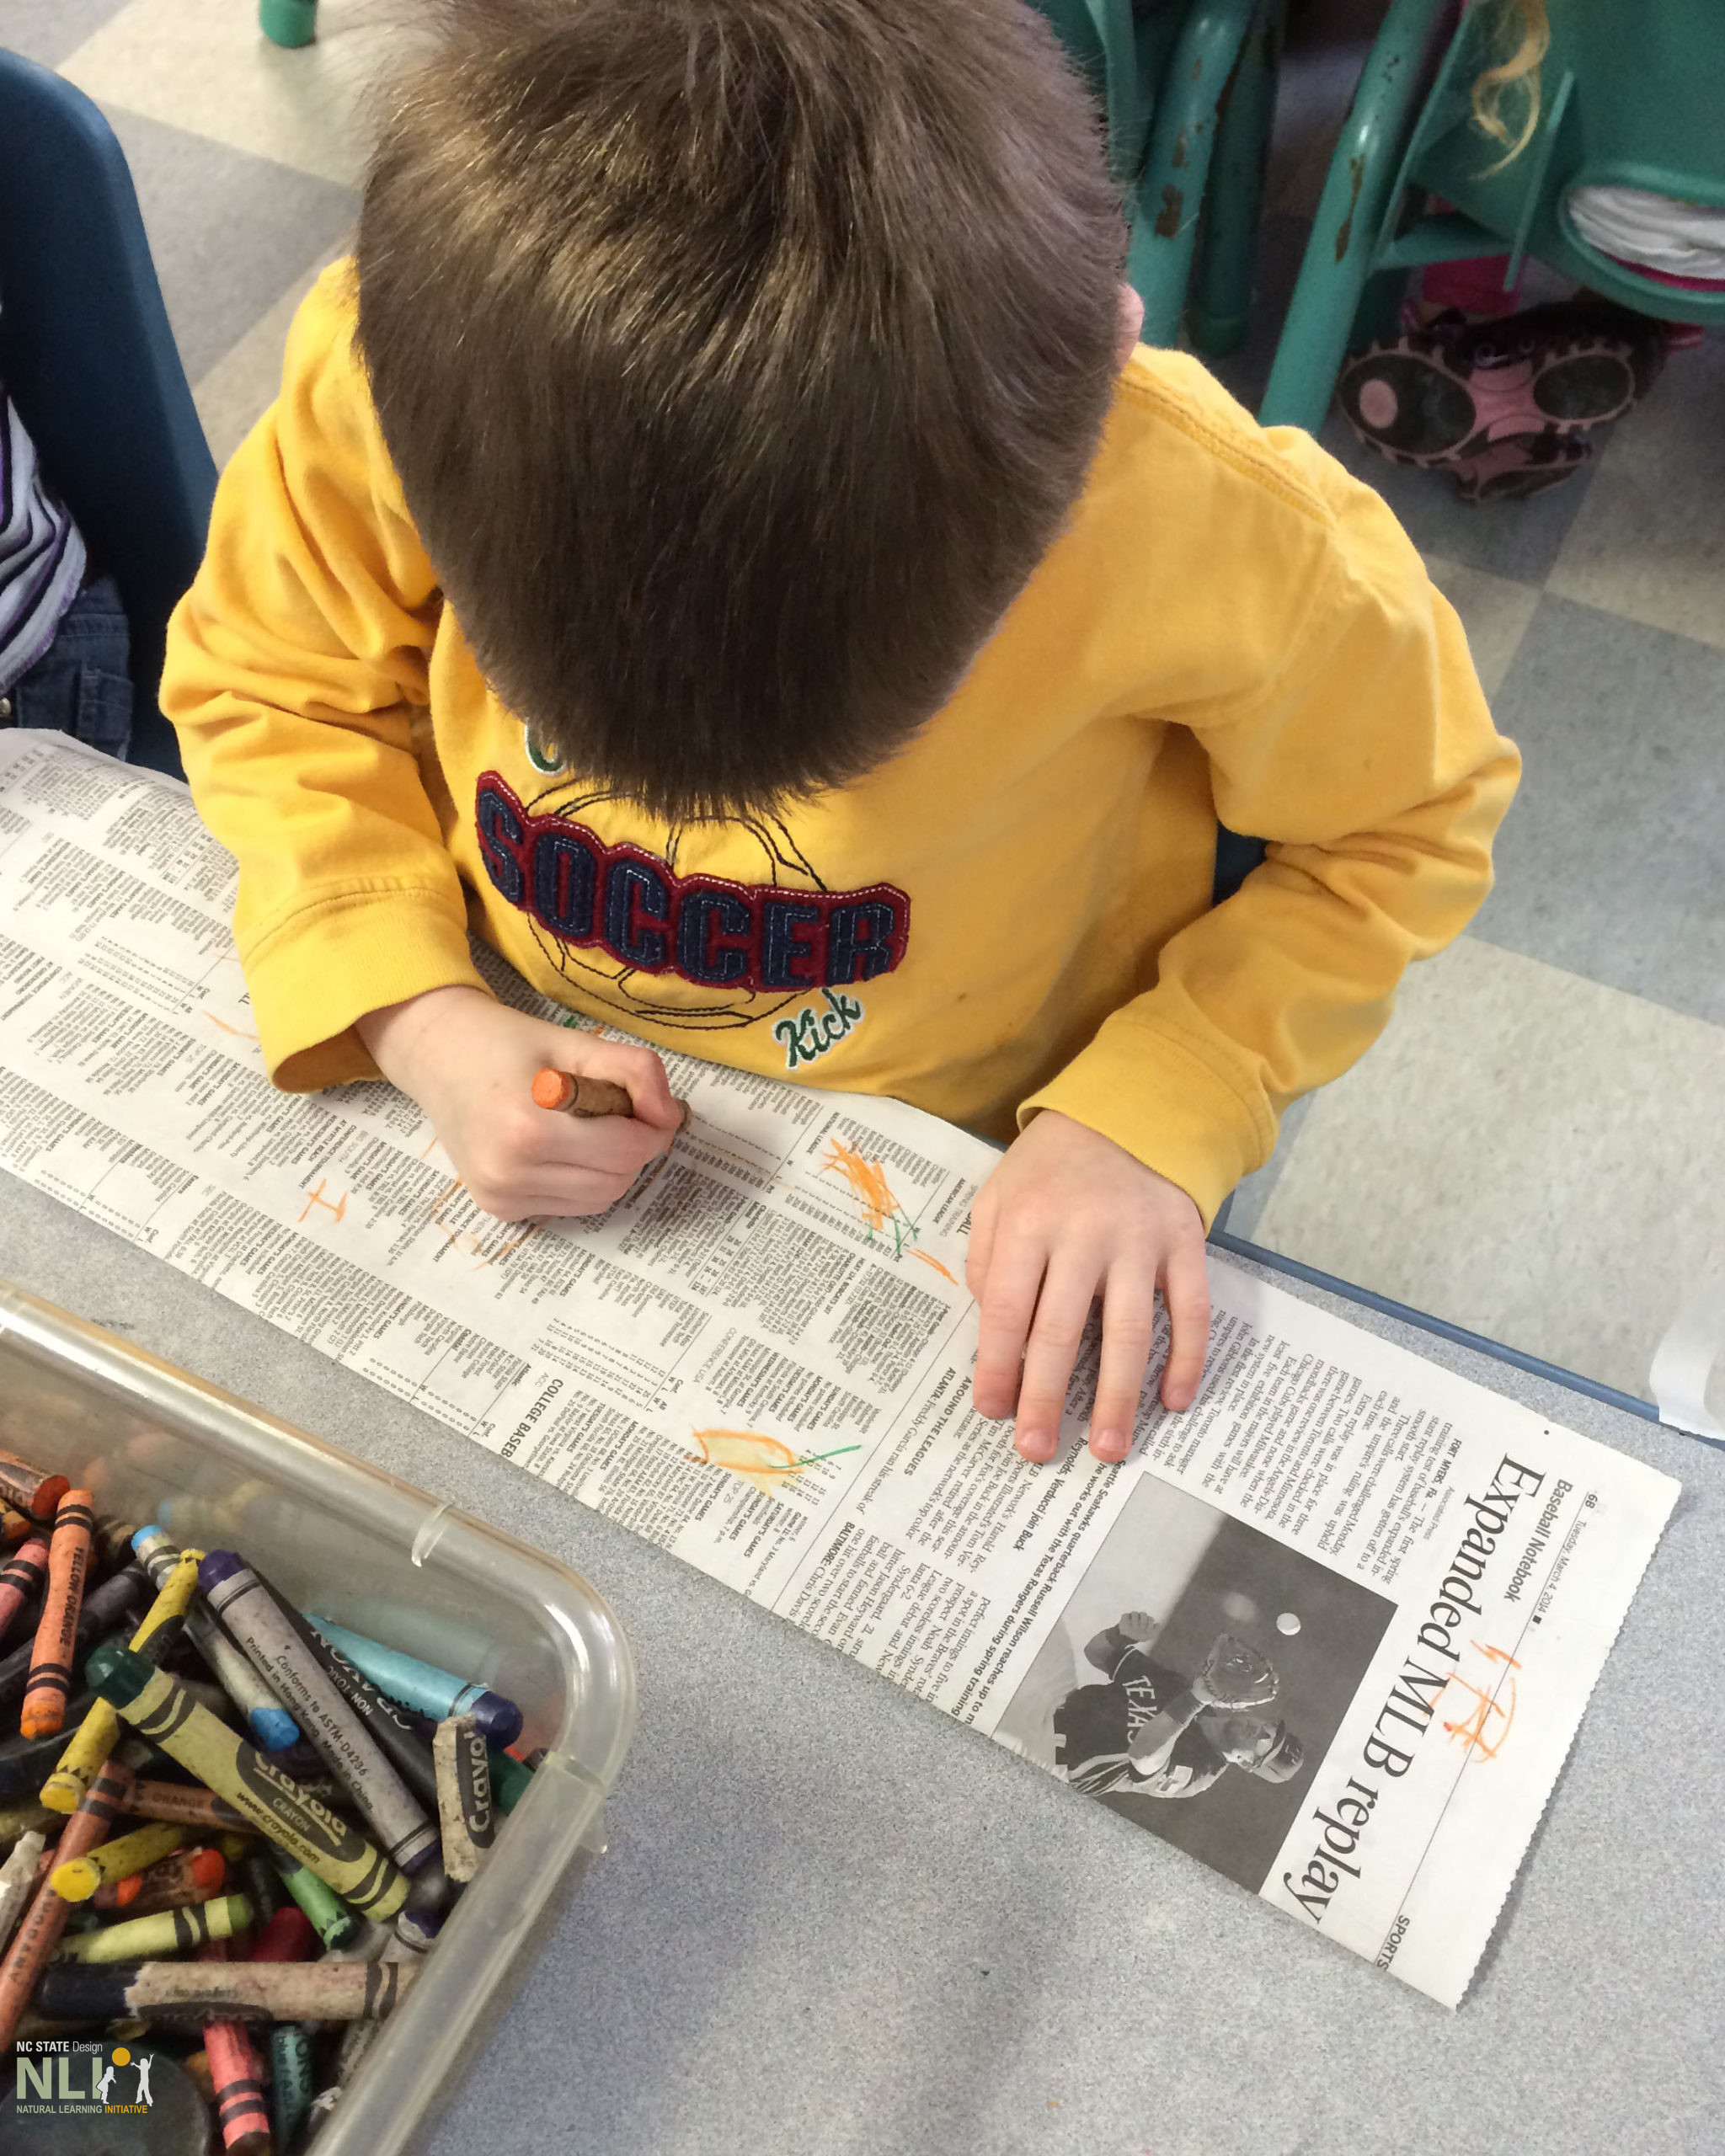
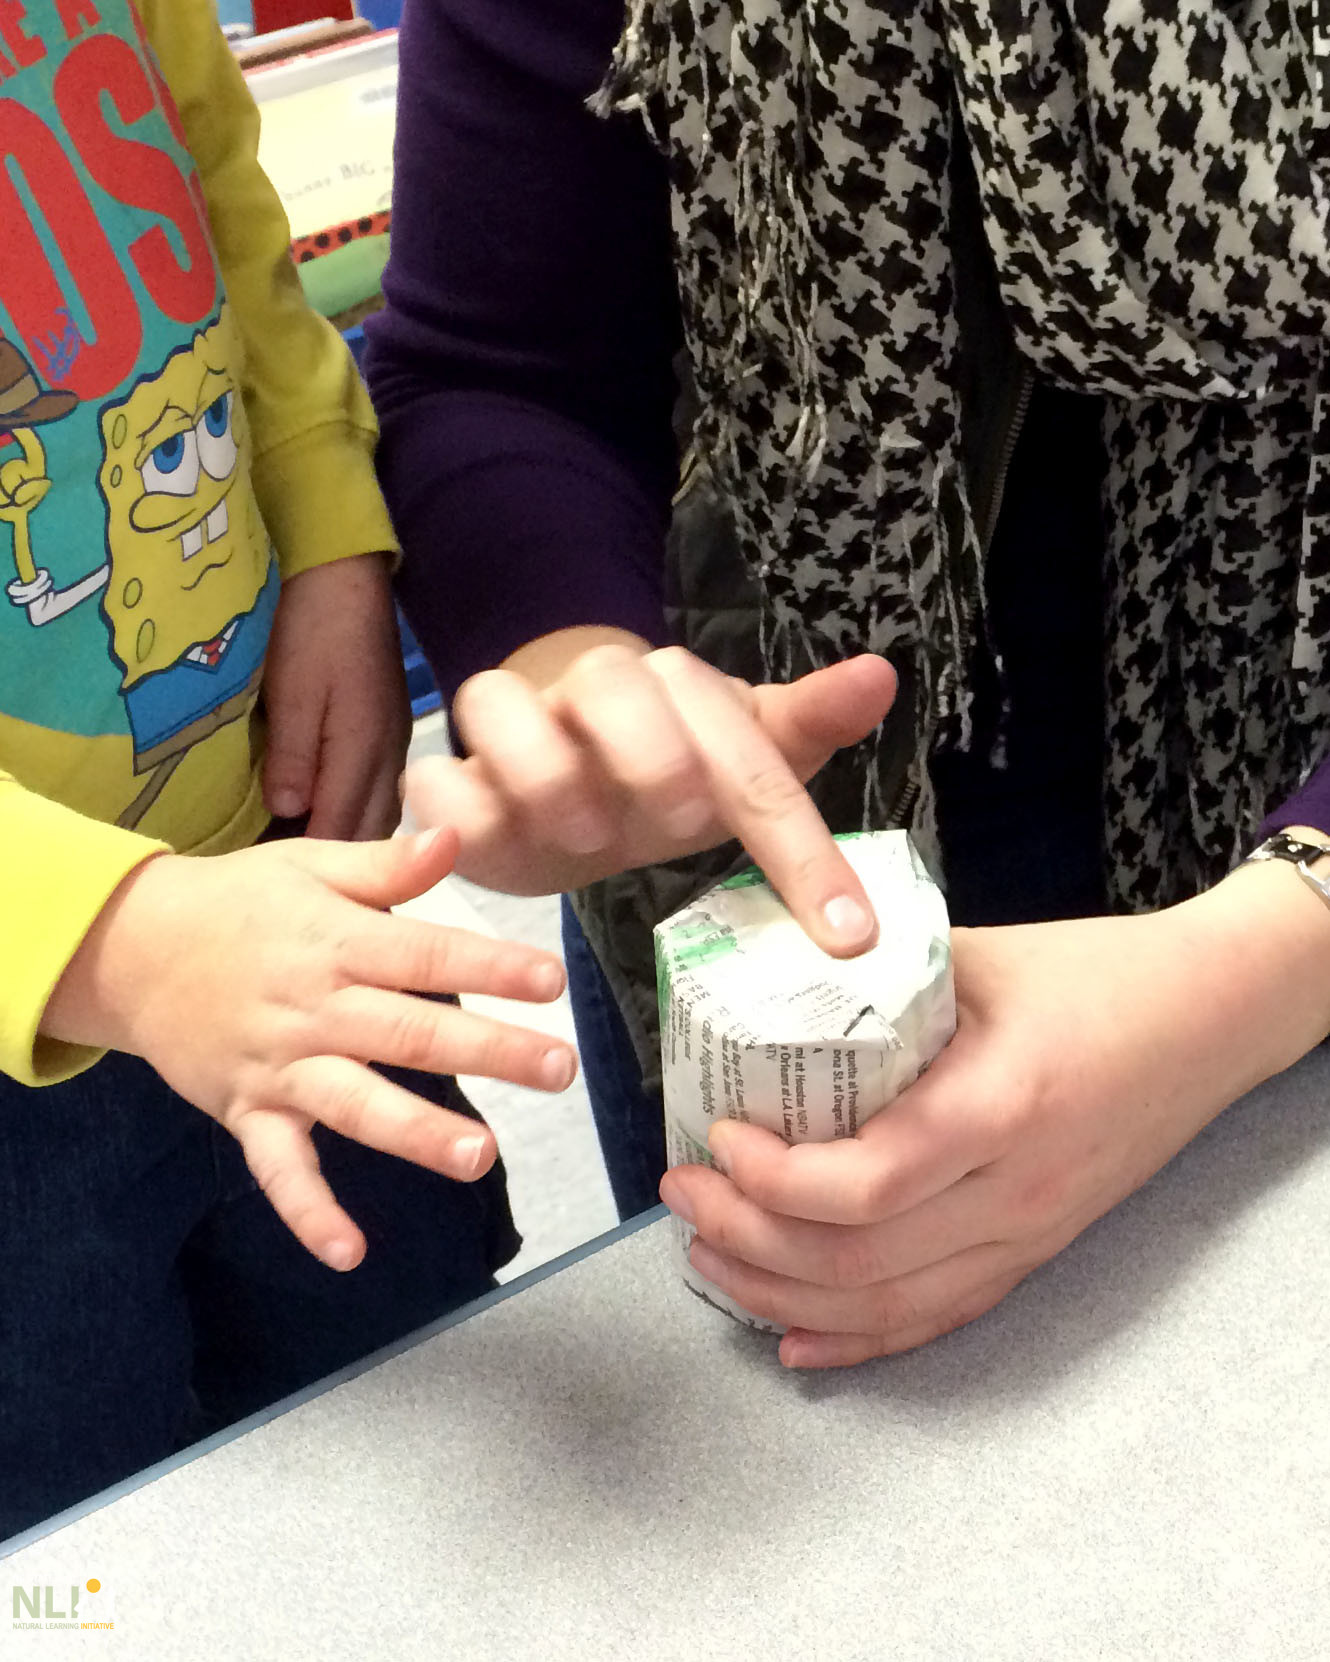
Using crayons and markers, encourage children to decorate their pots. Ensure that when newspaper is rolled on the can, the decorations are visible (Figure 2).
Using the metal can, lay the newspaper lengthwise and roll the newspaper strip around the can, leaving 3 inches off the base. This paper margin will create the base of the pot in the next step (Figure 3).
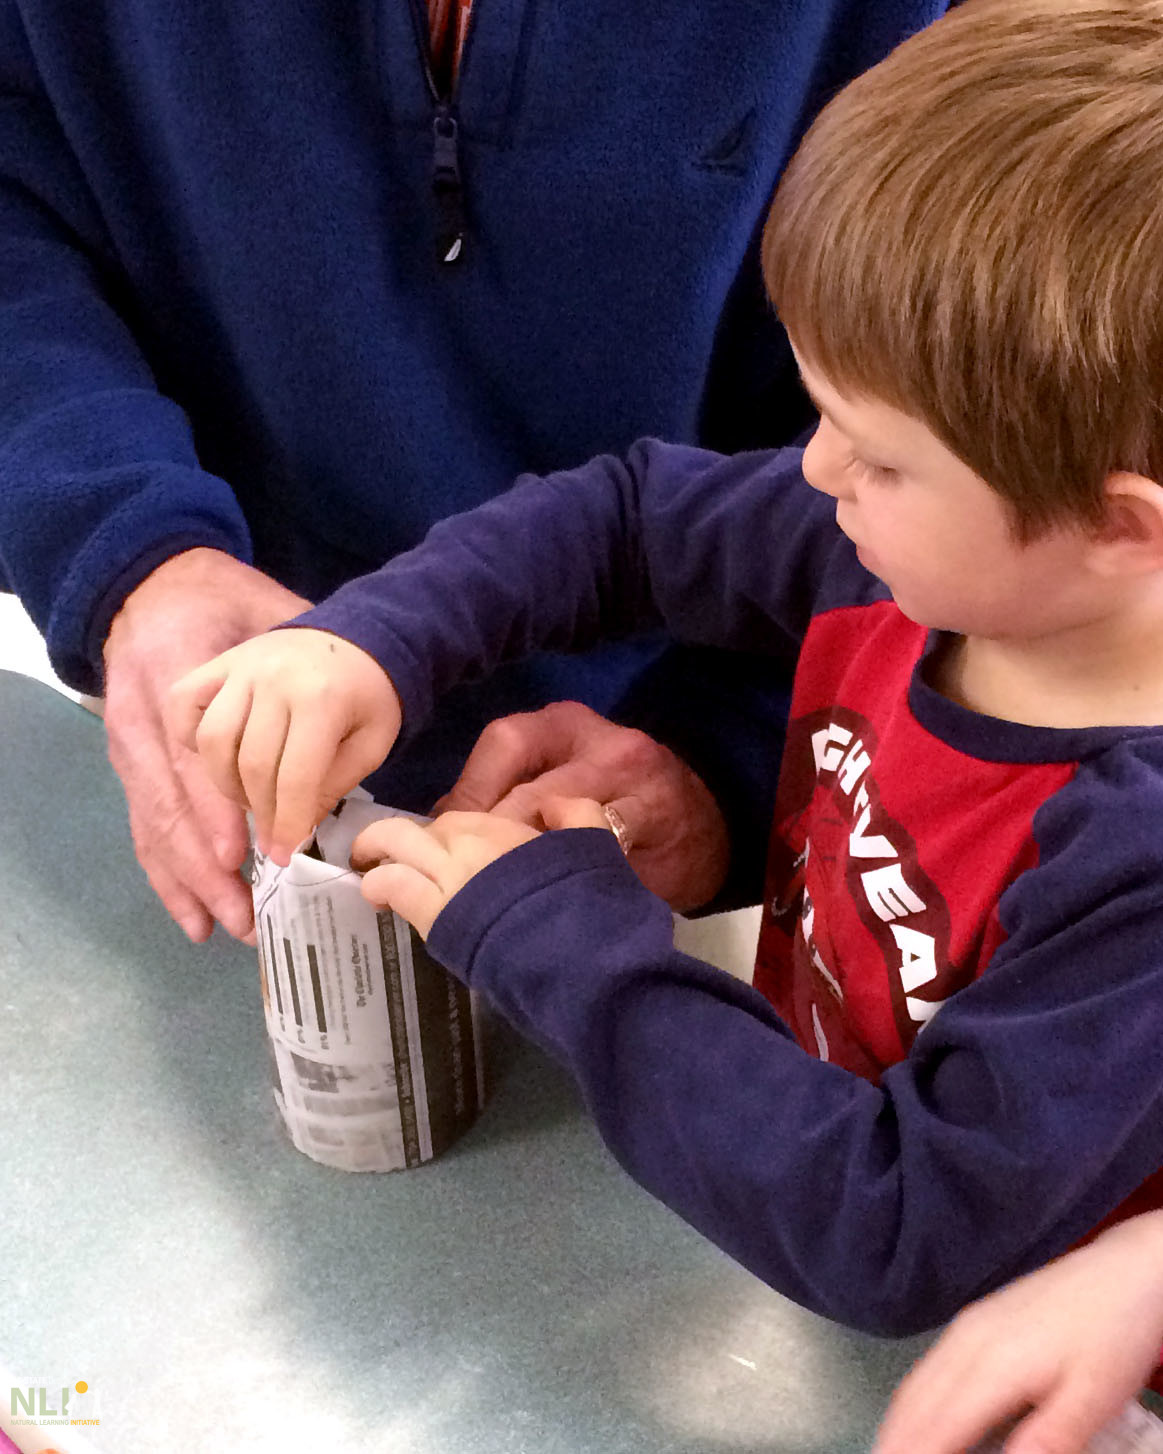
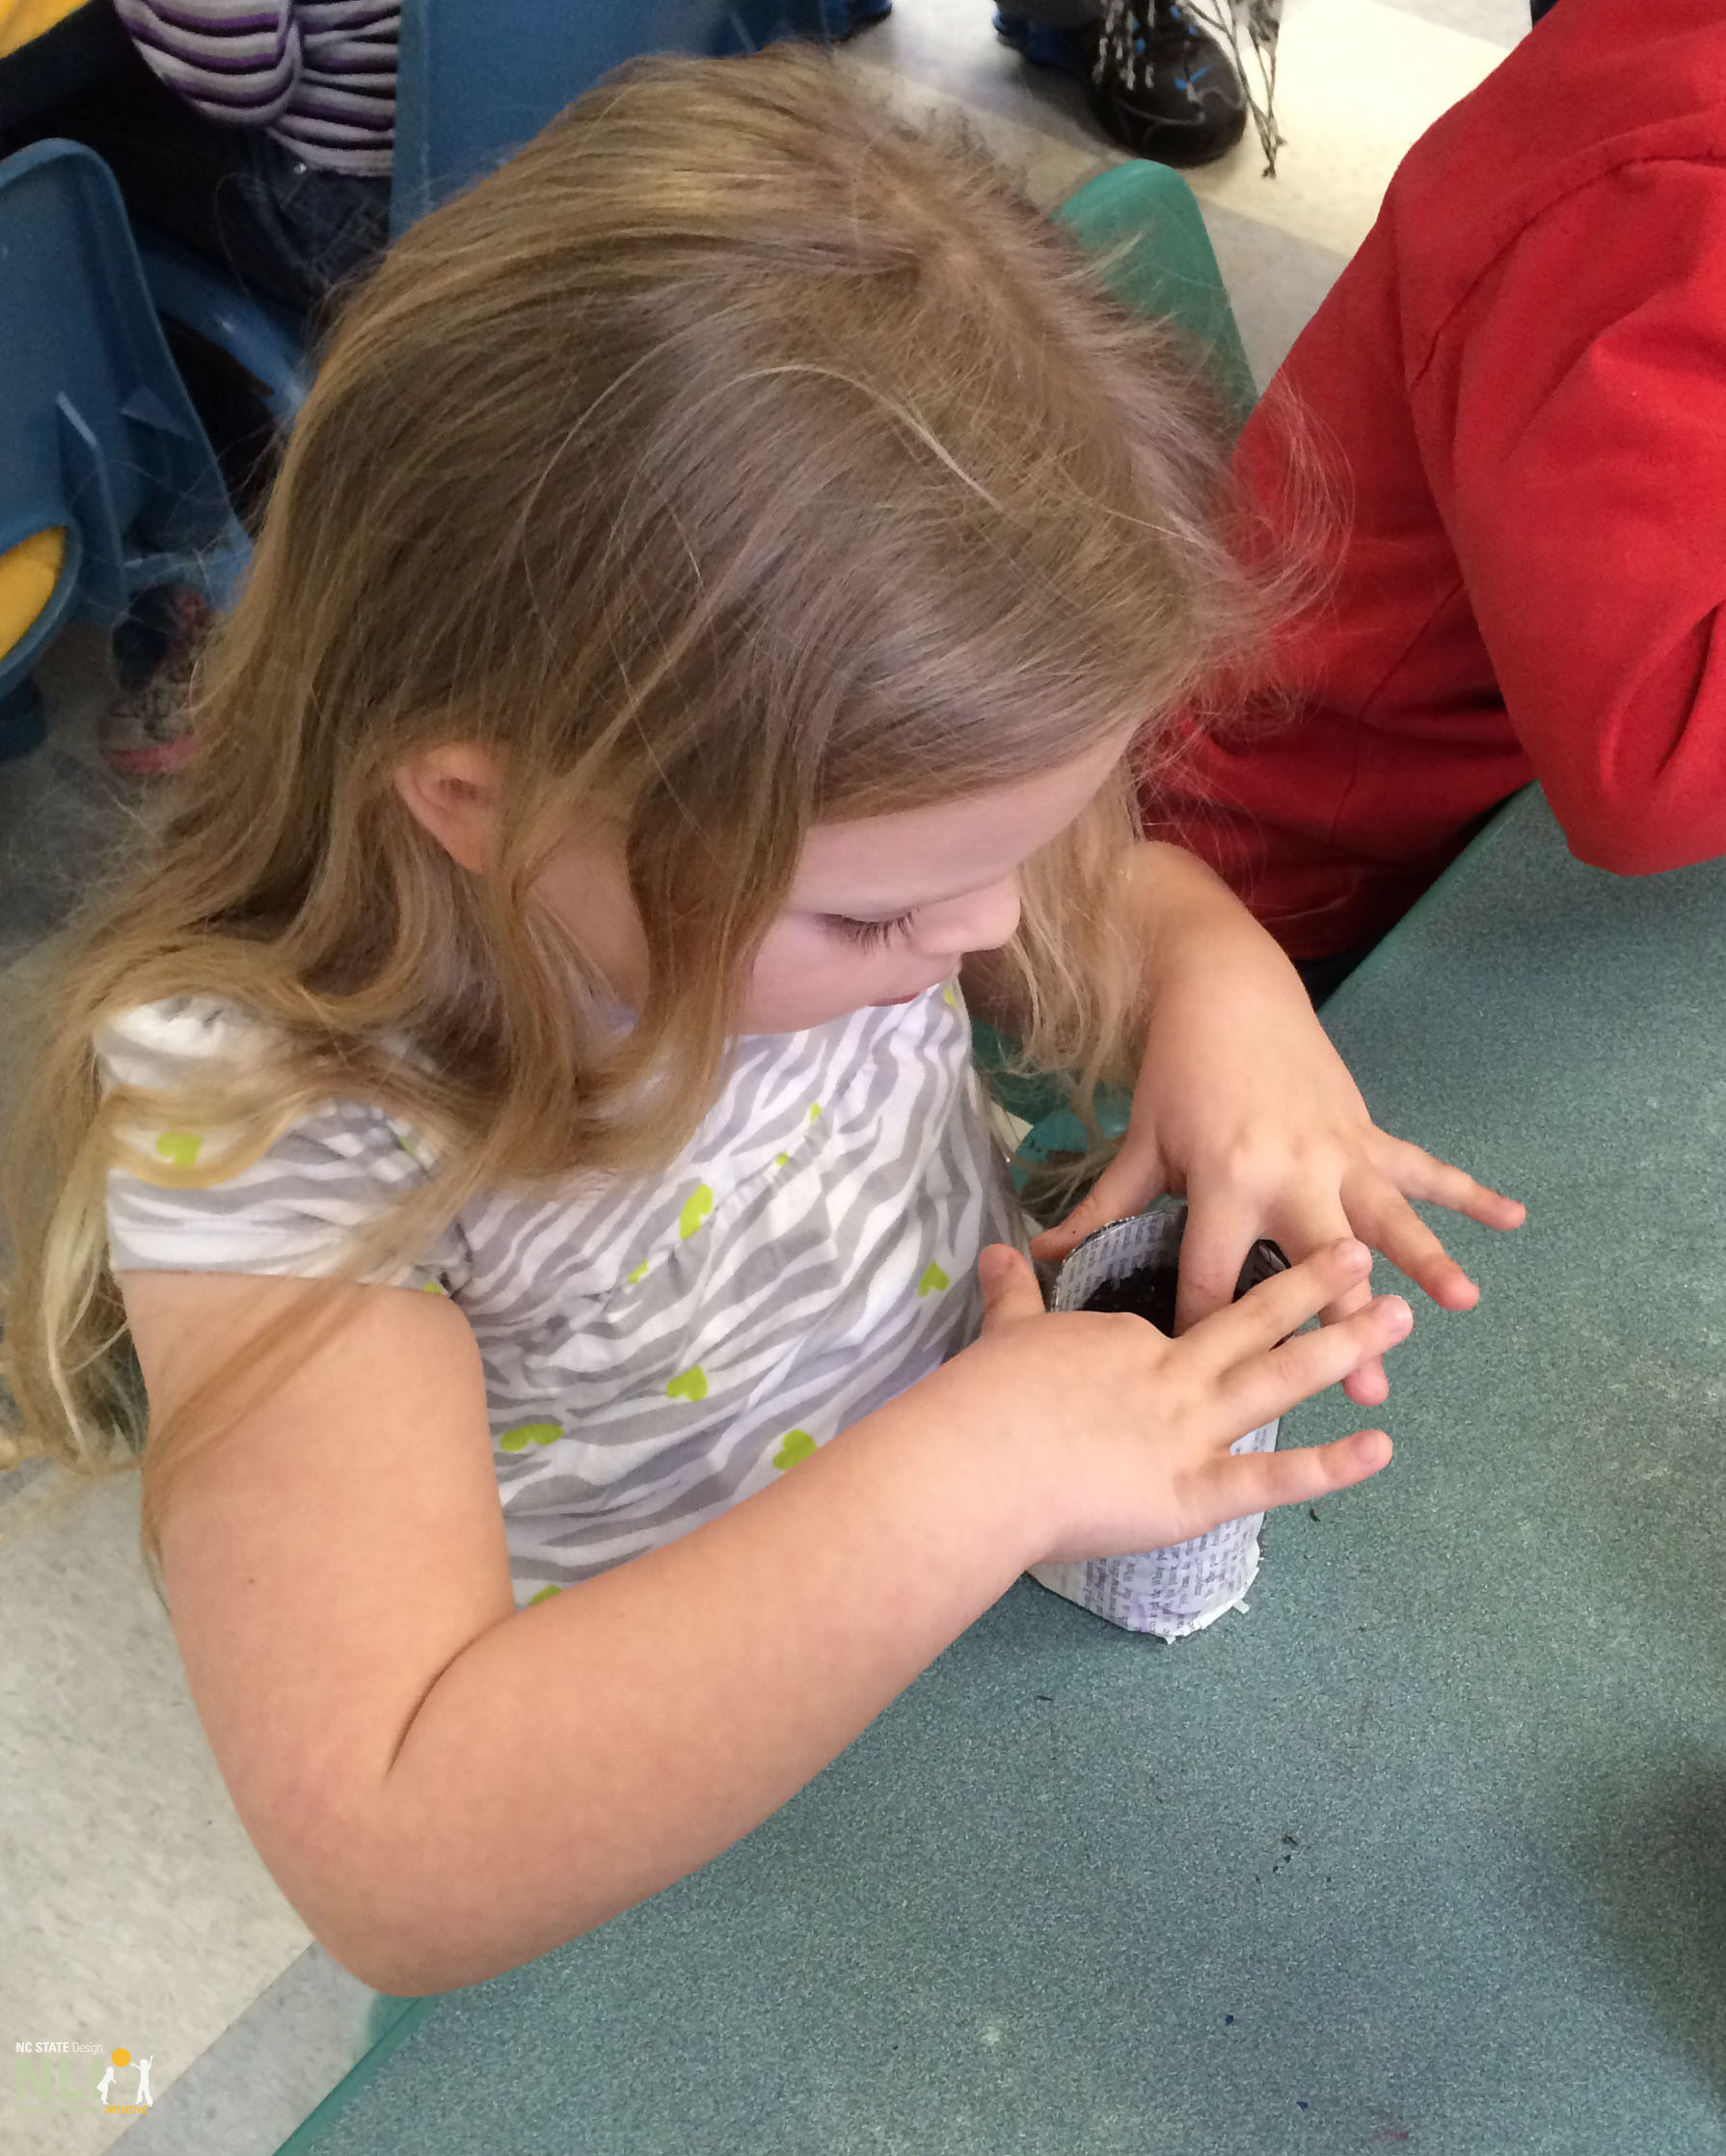
Using the 3-inch margin of paper, fold the excess paper towards the bottom of the can, moving around the base until the can base is covered. Use masking tape to secure the paper to itself, making a base for the newspaper pot (Figure 4). After the base has been folded and secured, separate the newspaper pot from the can by gently sliding it off.
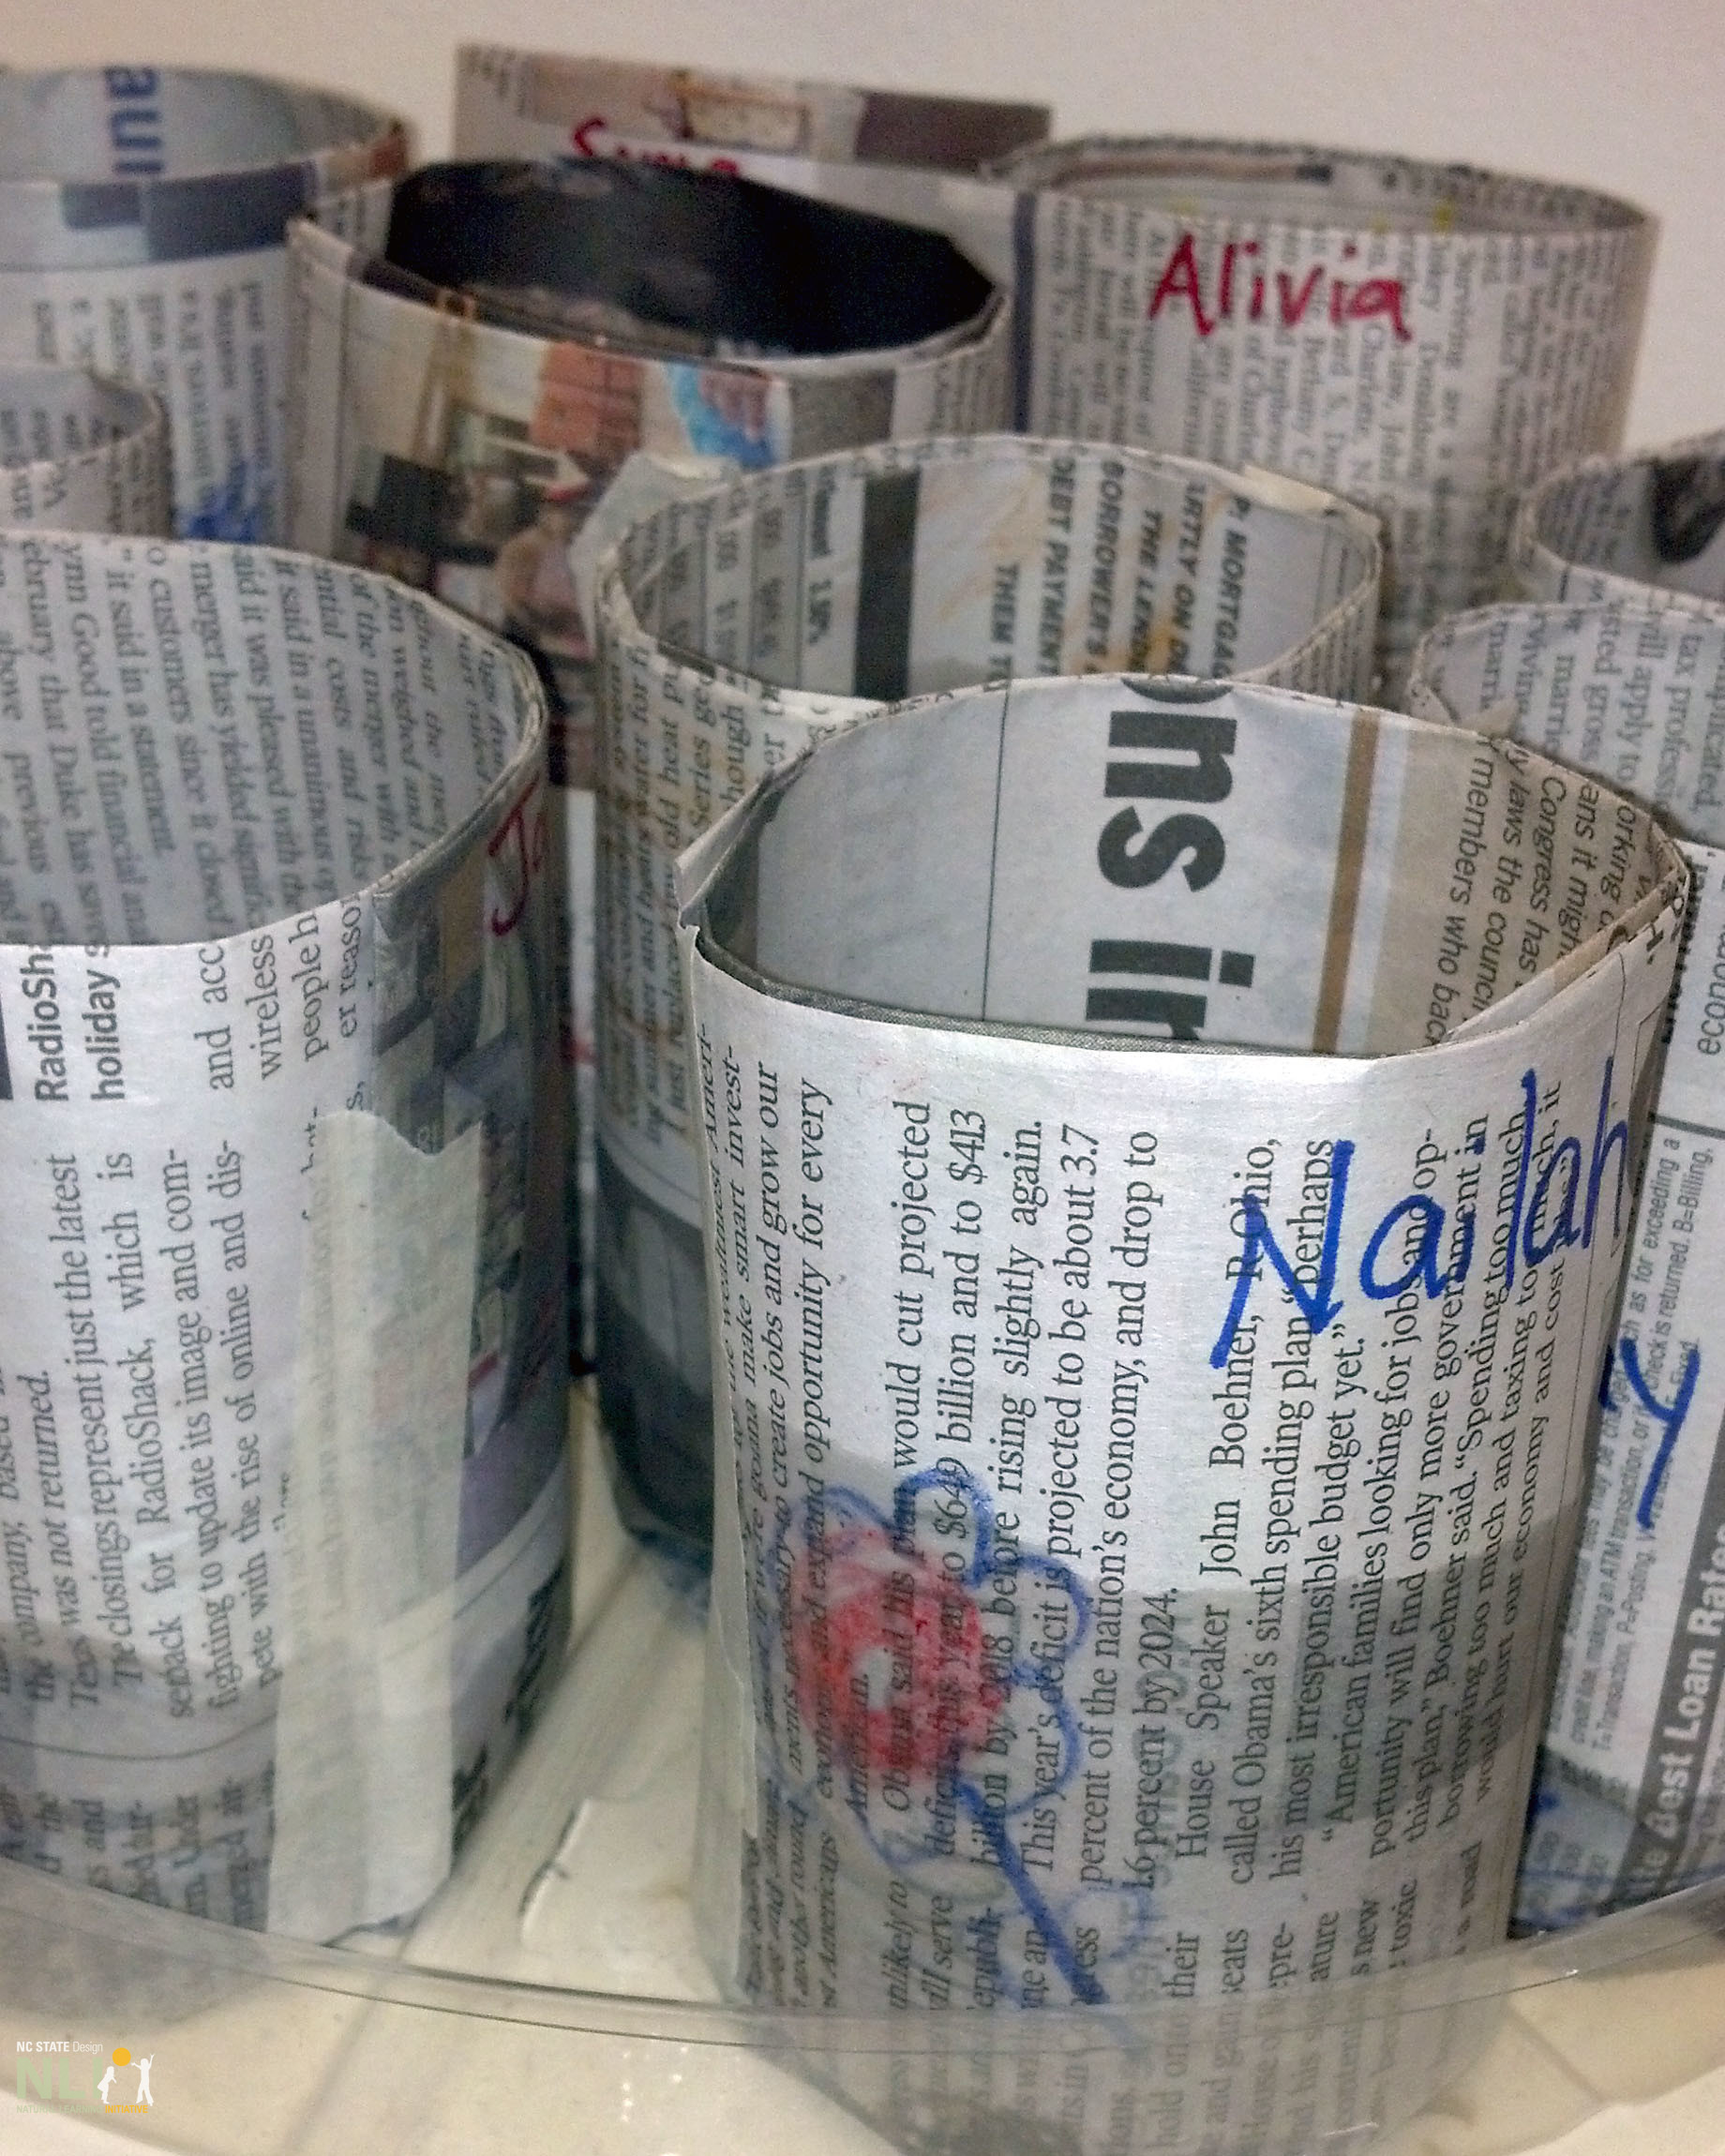
Sit the pot on its base. Around the top rim, fold the paper down and inwards 1 inch, creating a firm edge for the newspaper pot (Figure 5).
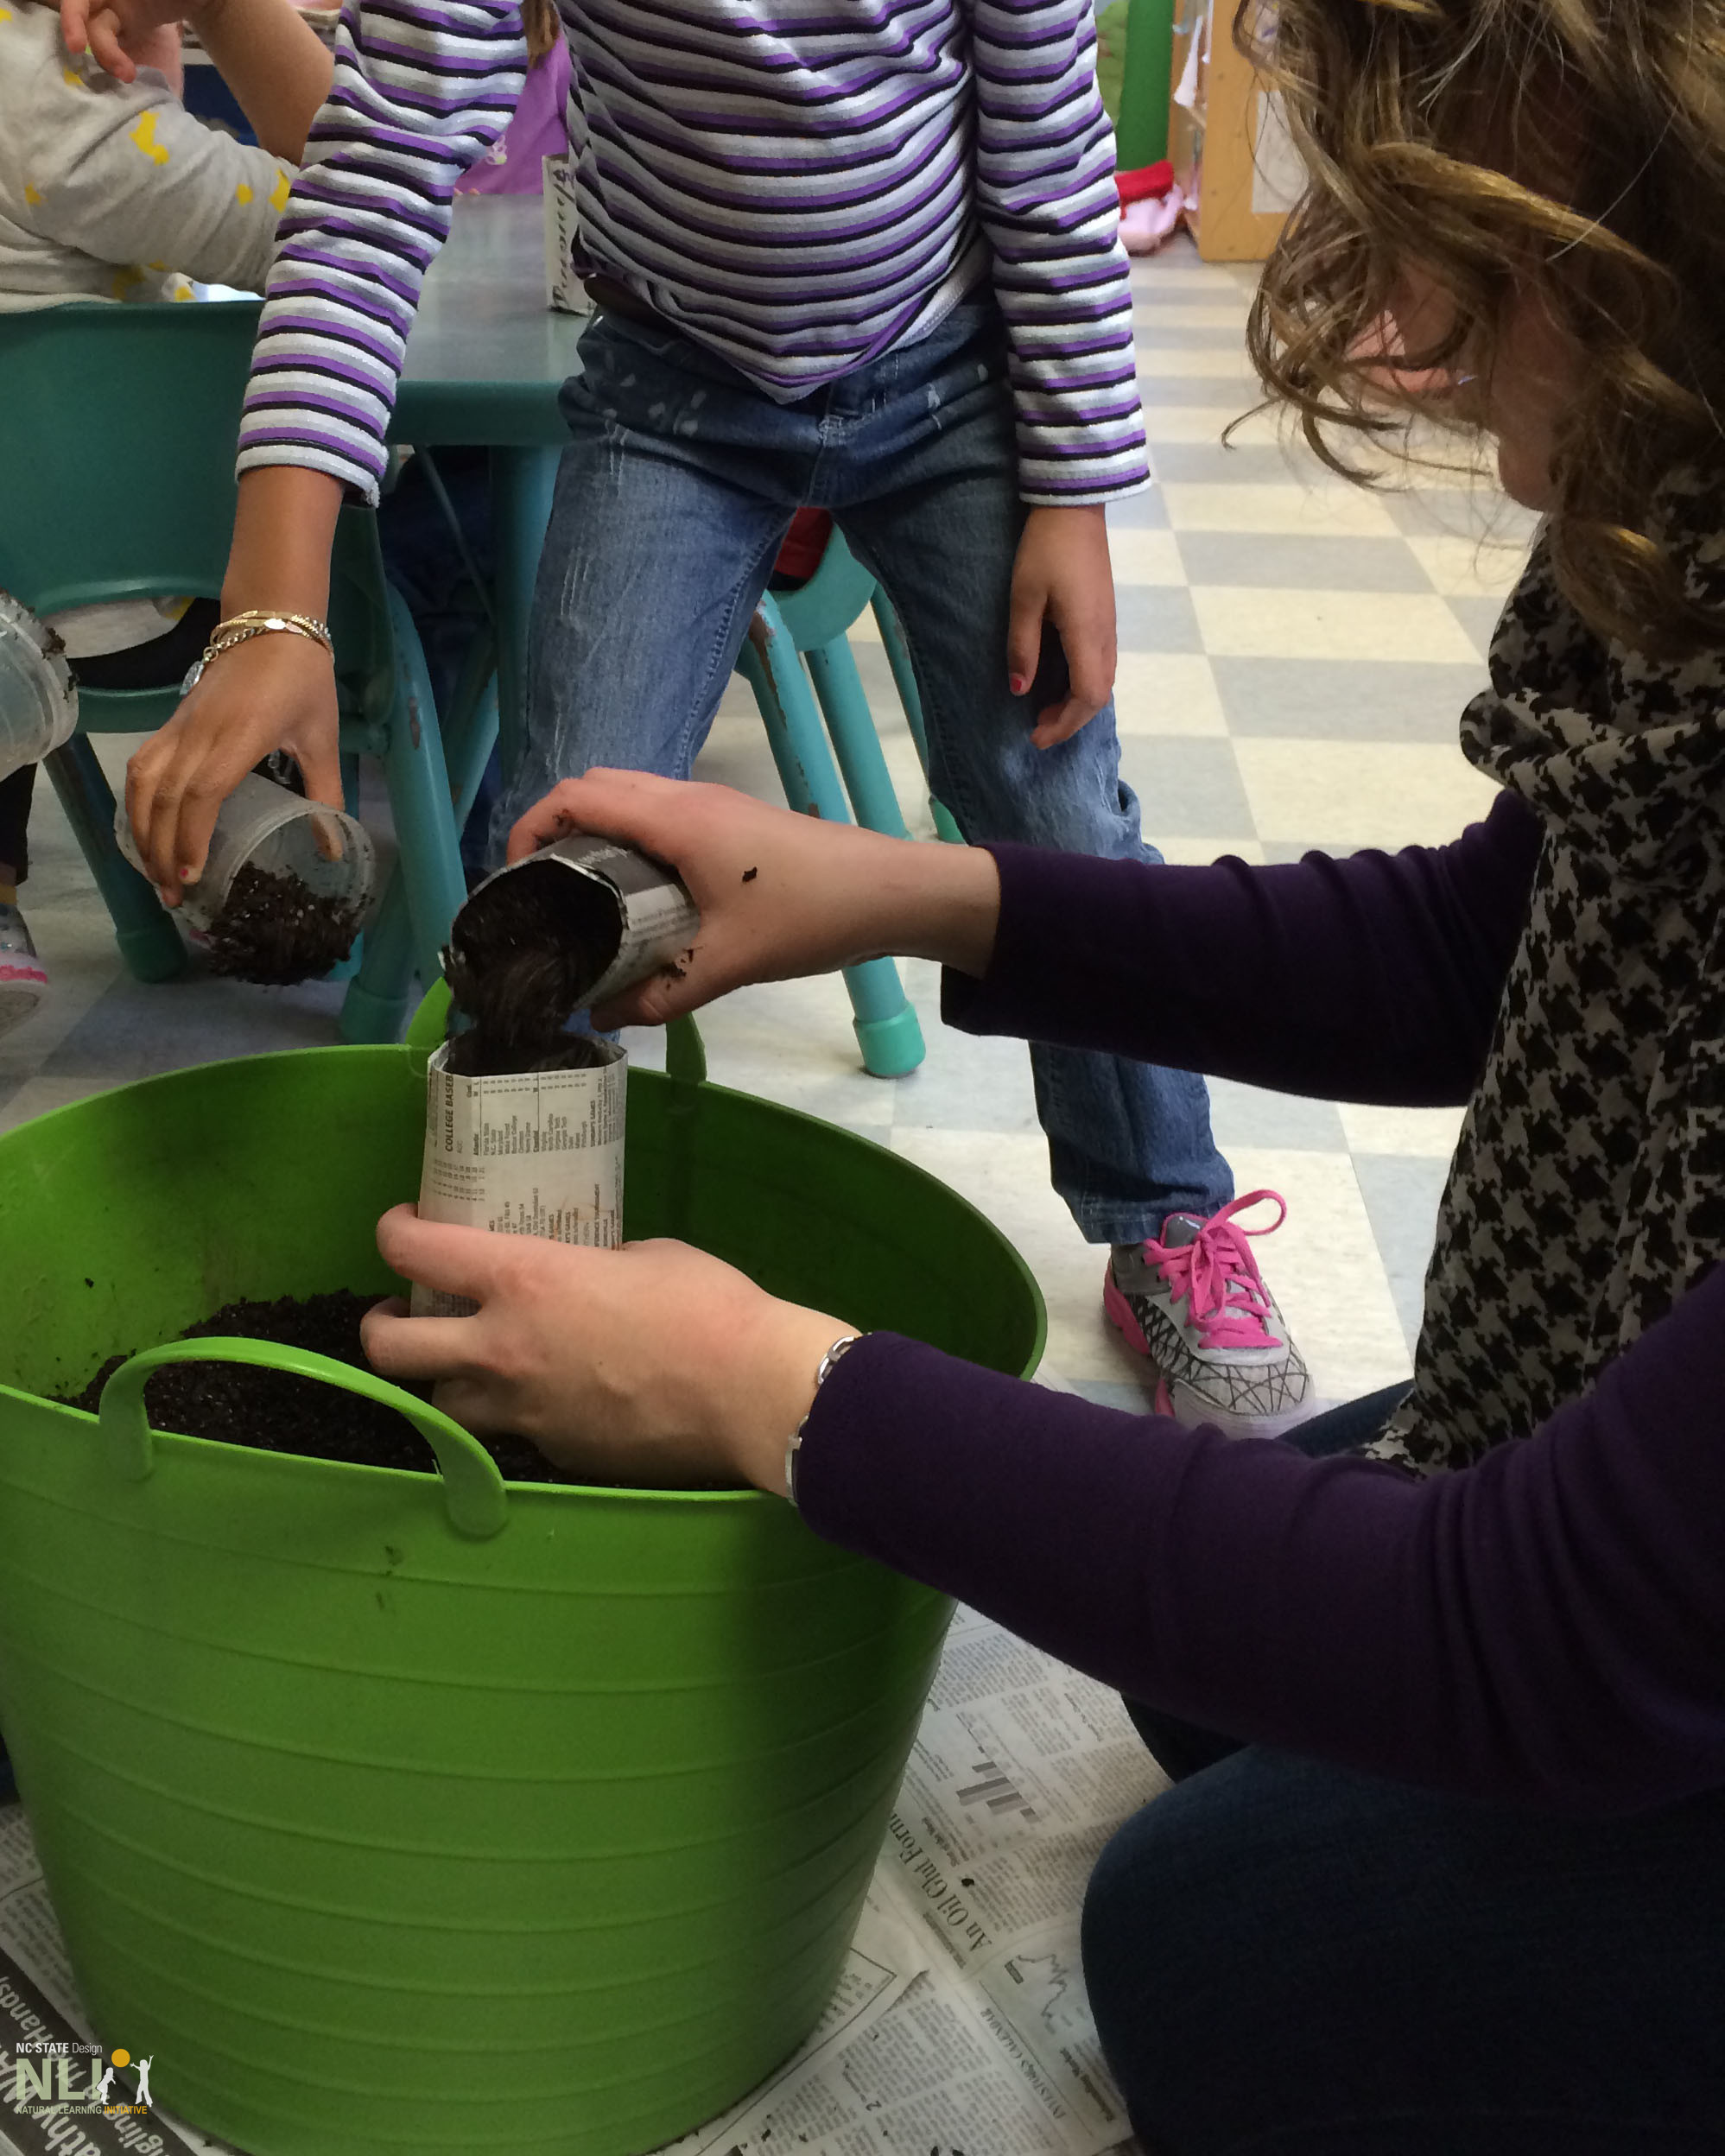
to the newspaper pot, leaving 2 inches of space at the top (Figure 6).
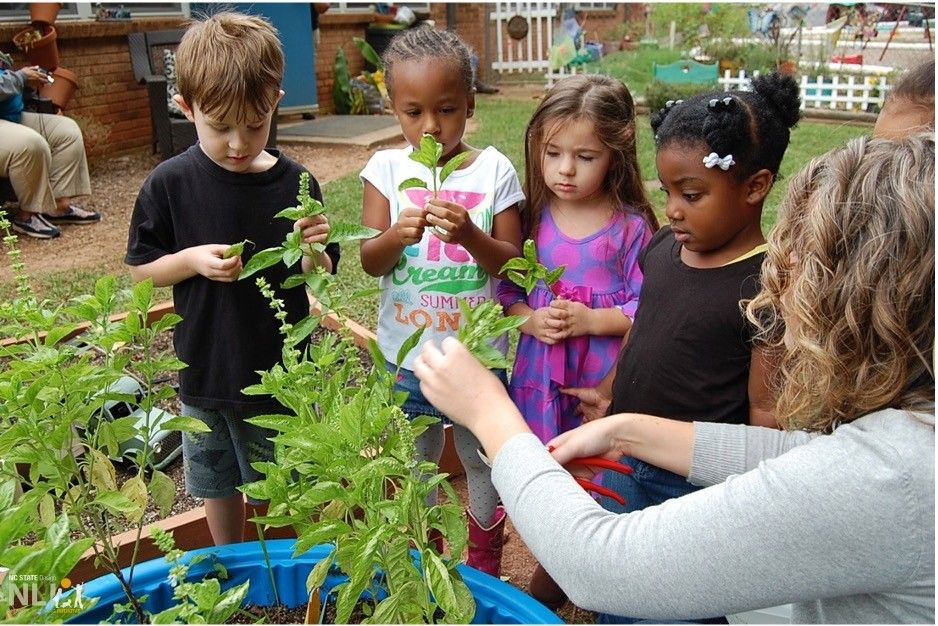
Read seed packaging for planting instructions, paying particular attention planting depth. Be mindful of watering and light requirements, which may vary between different plant types (Figure 7).
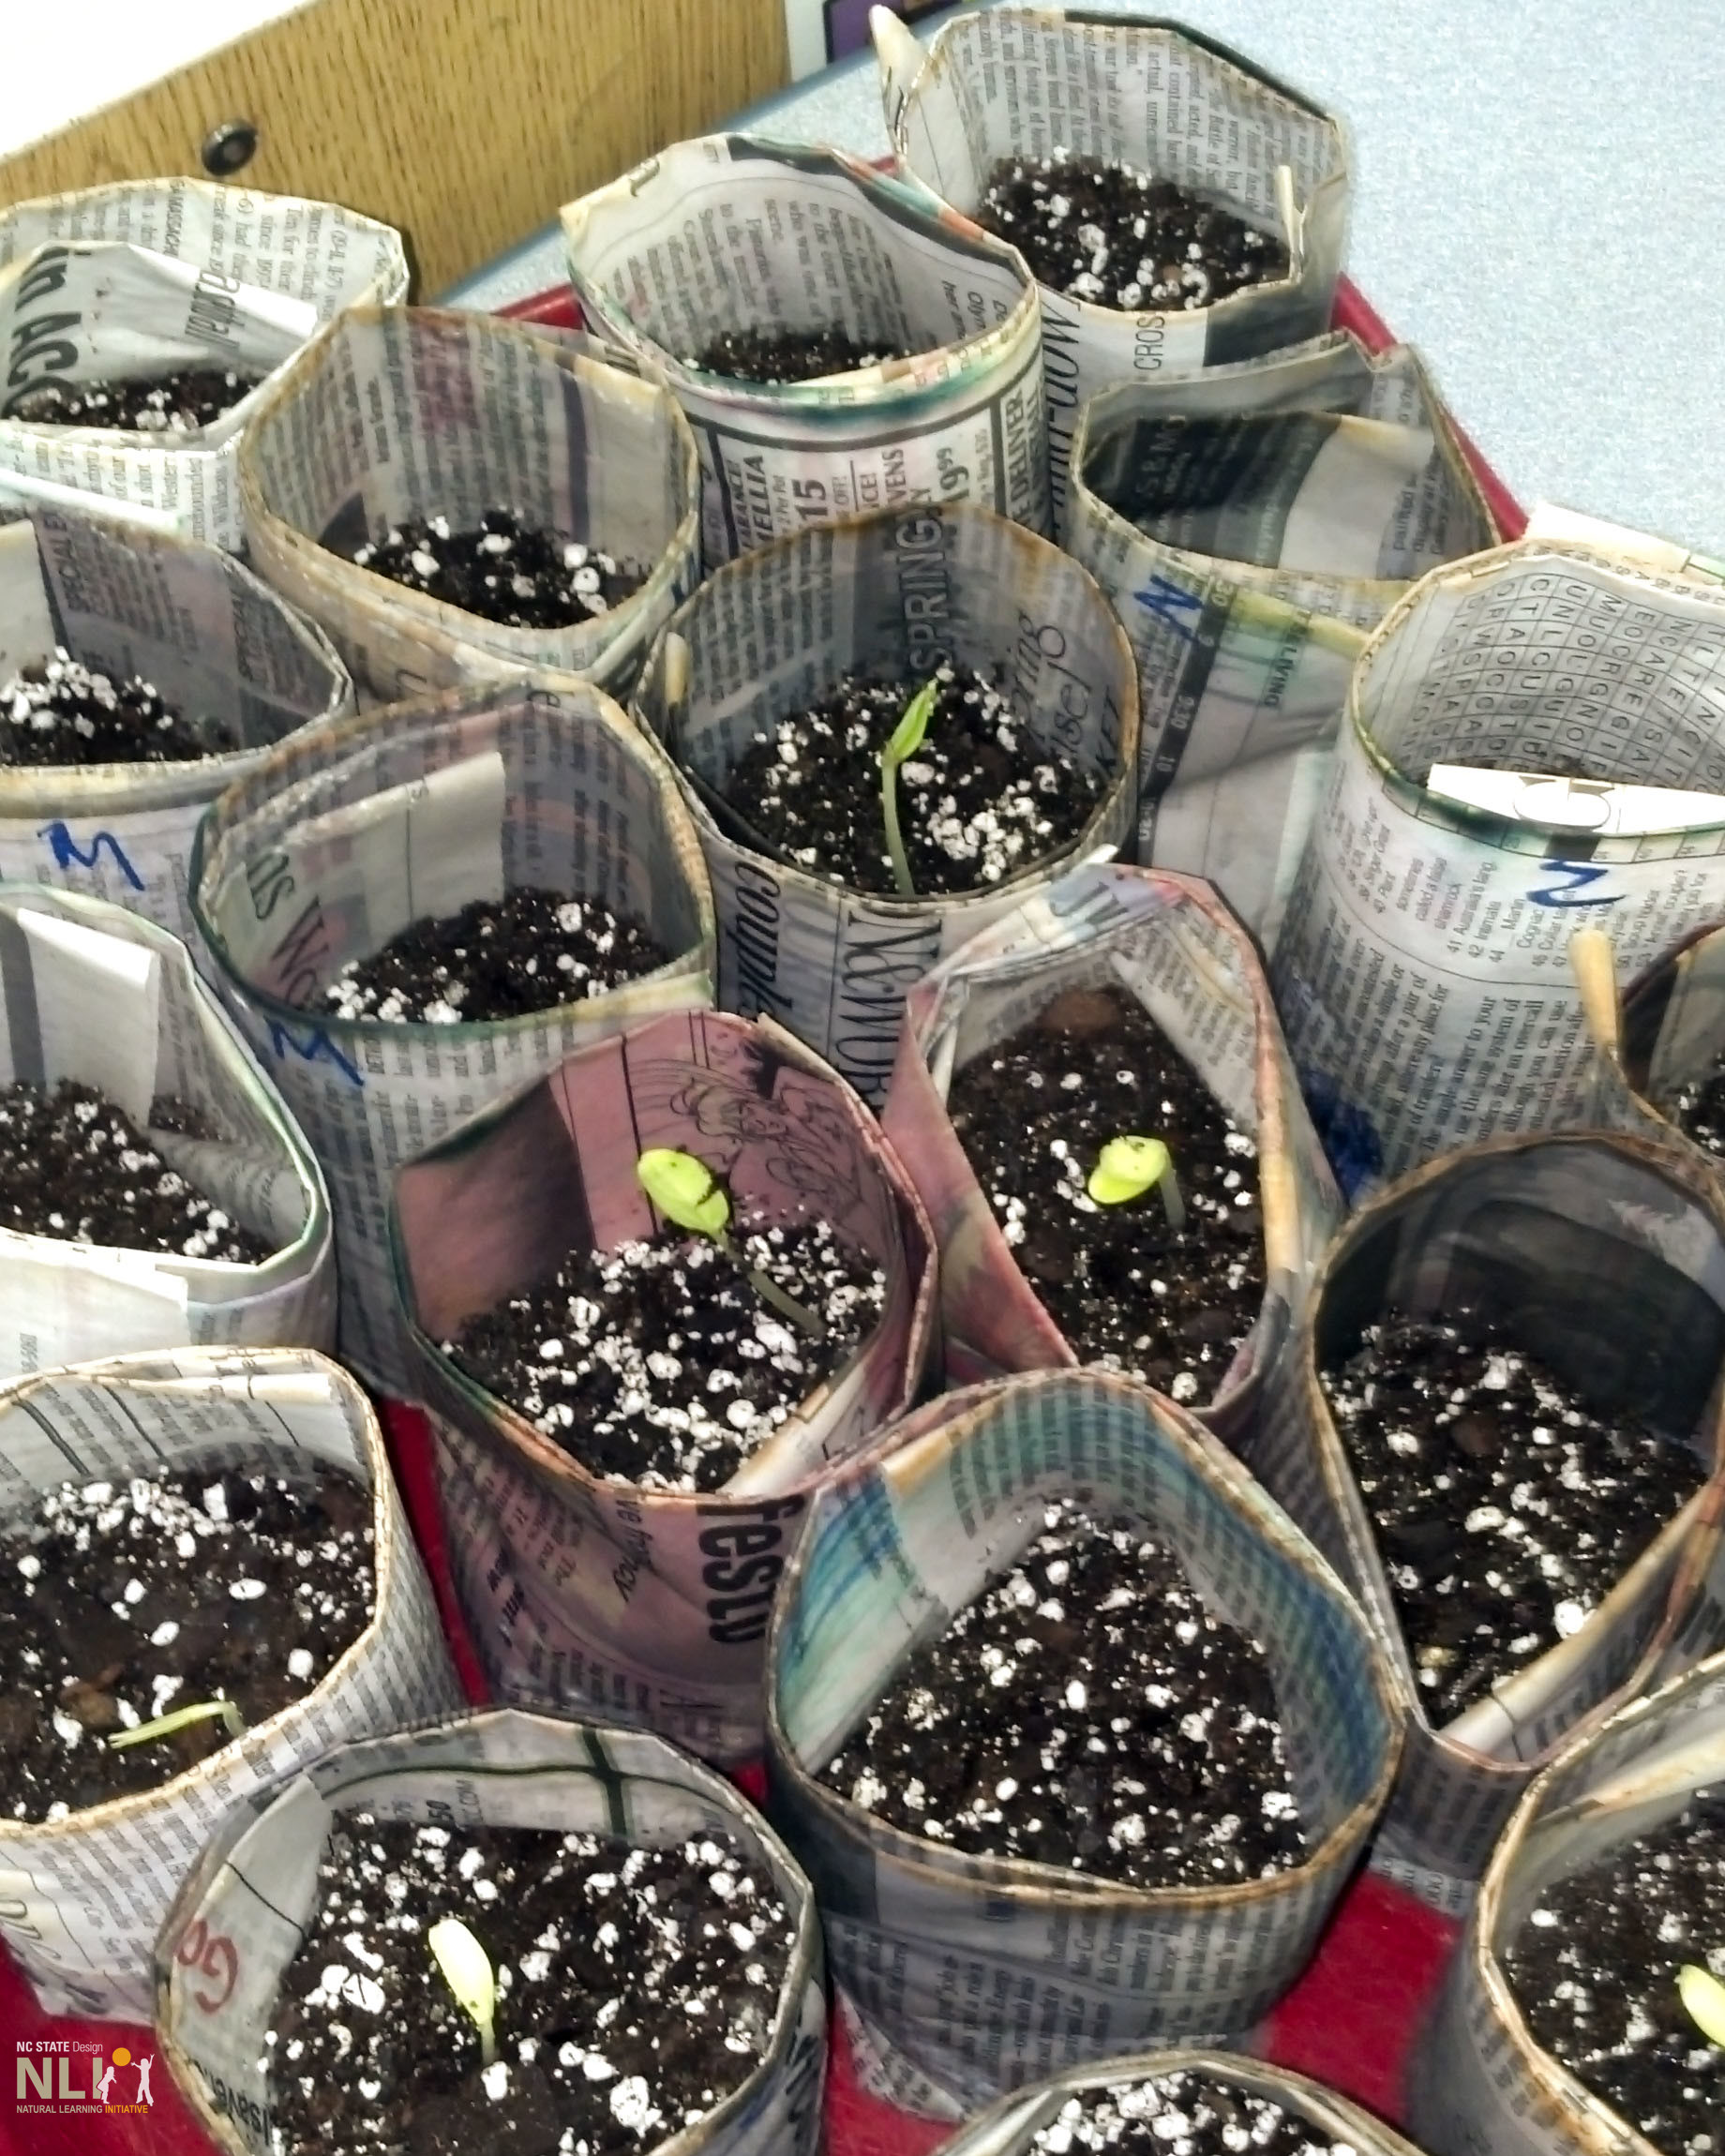
in a waterproof tray and watch the seedlings grow! Check each day to ensure the potting mix stays moist (Figure 8).
Keep a record of how long it takes seedlings to sprout. When ready, transplant pots to a raised bed, container (see InfoSheet: Growing Edibles in Containers), or directly in the ground. Masking tape is not bio-degradable, so be sure to remove it before transplanting seedlings.
Materials & Tools
- Recycled newspaper
- 10-15oz. metal can (Soup can recommended)
- Potting mix
- Masking tape
- Waterproof tray
- Seeds
- Popsicle sticks for labeling
- Markers or crayons
1. Completed pots in trays
2. Decorating newspaper
3. Rolling newspaper strips
4. Folding pot bottom and removing the can
5. Folding pot rim
6. Adding potting soil to the newspaper pots
7. Planting seeds in a pot