Scarecrow
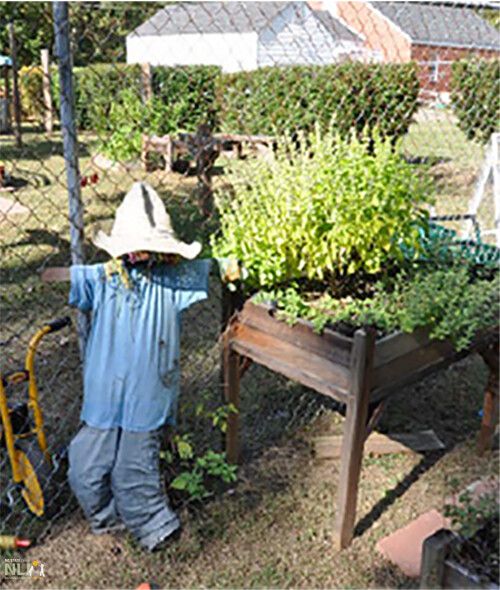
As children work to create a scarecrow for the orchard, they learn several new vocabulary words including orchard, scarecrow, scare, and crop. By naming their scarecrow, they’re also introduced to how spoken and written language can be used for communicating ideas. By working in the orchard, they are learning about healthy foods and how they grow. Making a scarecrow connects children to nature and teaches them about other living creatures.
Setting:
Orchard or garden in the outdoor learning environment (OLE)
Focus:
Gardening
Curricular Areas:
- Language development and communication
- Conservation/Empathy
- Creative expression
Suggestions:
- When fruit first appears on the trees in the outdoor learning area, its time to make a scarecrow.
- Talk with the children about the purpose of a scarecrow (to scarecrows and other birds away from the fruit). Introduce the idea that scarecrows are used in different places where food grows, including gardens, orchards, and fields. Emphasize how scarecrows are used to frighten, but not harm birds.
- With the children’s help, stuff one plastic bag with enough other plastic bags to shape the head. Wrap burlap or muslin around the stuffed bag. Insert the large stake inside the stuffed bag and use twine to tie a tight knot at the base of the head, securing it to the stake. Cut three circles or triangles out of the felt for the eyes and nose. Sew or pin these to the head.
- Make shoulders and arms by nailing the short stake to the large stake.
- Dress the scarecrow by adding a shirt, pants, and a hat. Tie or pin these in place. Stuff arms, chest, and legs with straw or plastic bags. Tie the arms and legs shut to hold the stuffing in place.
- Have the children suggest names for the scarecrow. Make a name tag and pin it to the scarecrow.
- Provide additional materials for children to create their own versions of a scarecrow. Corncobs, corn husks, and other materials can be used for making mini versions of the scarecrow.
Engaging Parents:
- Take a picture of the completed scarecrow. Post the picture in a readily-accessible place and/or include it in a parent newsletter.
- Invite children to draw a picture of the scarecrow and then share the picture with their parents.
- Have children take their mini-scarecrows home to share with their parents and siblings.
Materials:
- Old clothes (pants, shirt, hat)
- Soft material for stuffing (e.g. plastic bags, straw)
- Tall wooden stake (5–6 feet); short stake (3–4 feet)
- Burlap or muslin for the face
- Twine; brown or black felt for eyes and nose
- Hammer and 2 small nails
- Needle and thread or safety pins
- 3×5 card
- Permanent marker
- Corn cobs with husks and silk
- Other materials for mini-scarecrows or corn husk dolls


